| TimeTec has merged all of its solutions into www.timeteccloud.com, click to | Redirect |
|
STEP 02 |
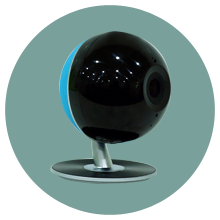
Install Smart Gateway with Camera |
|
STEP 03 |
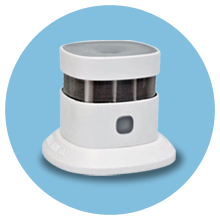
Install Sensors & Devices |
|
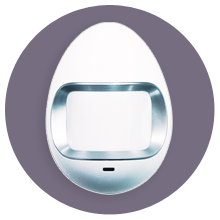
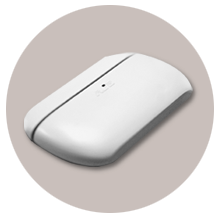
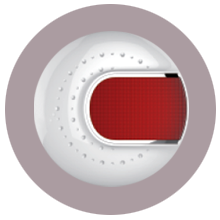
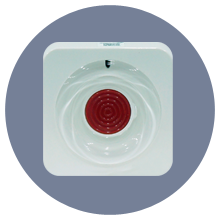
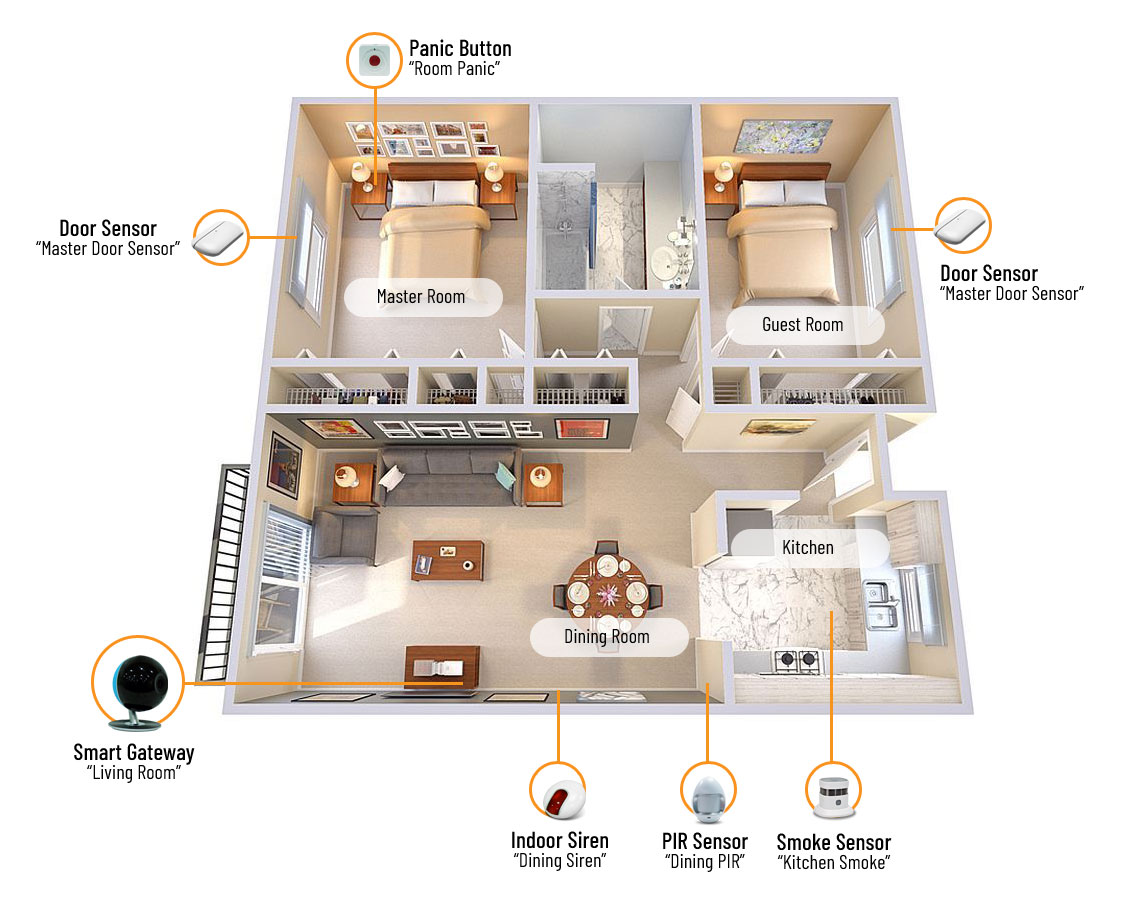
1. Simple Planning Firstly, do a simple planning of your alarm system (best with premise layout). It can be something like this: Location: Your home, which is a 2-room-apartment and you can name it “Sweet Home”. Rooms: The rooms that you will add the devices/sensors to, all the room names and device names can be edited according to your needs. Dining room - Indoor Siren & PIR motion sensor Master room - Door/Window magnetic sensor & Panic Button Guest room - Door/Window magnetic sensor Kitchen - Smoke sensor |
|
2. Create Location After planning is done, check out the Hardware Guide and App Guide of the “brain” -- Smart Gateway with Camera. In the app guide, you will learn how to create a location. Remember to name it accordingly, for eg “Sweet Home”. |
|
3. Add Smart Gateway with Camera Then, you are led to add the “brain” -- Smart Gateway with Camera in “Sweet Home”. We suggest to name it “Living room” as you are going to place it in the living room. |
|
4. Create Rooms After the smart gateway has been added, create rooms that the sensors and devices will be added according to your plan in (1). |
|
5. Add Sensors & Devices After the rooms have been created, you can add the sensor/device to each room accordingly. Each sensor has to be added to a certain room and bound with a smart gateway, in this case it will be the smart gateway “Living room”. Check out for the Hardware Guide and App Guide provided above for step-to-step guides of each device. |
|
6. Start Configuration Now!
Start now by configuring your smart gateway! Chat with our support if you face any difficulties during the setup. |