TimeTec has merged all of its solutions into www.timeteccloud.com, click to Redirect
i-TimeTec App
User Guide for PIR Motion Sensor
 

List of guides:

• Before Configuration
• Configure PIR Sensor
• Try Arm/Disarm to test the sensor

PIR Motion Sensor
Before Configuration
  1. Please make sure you have already installed a smart gateway (with camera) as you need to bind your sensor with a smart gateway.
  2. Please open the back cover of the PIR sensor, open up the battery cover and insert battery to power up. When the PIR Sensor is powered up, the LED light in front will be lit up.
  3. As we usually mount or stick the PIR sensor on the ceiling or high area, it is advisable to configure the sensor in i-TimeTec App first before mounting it, as you will need to scan the QR code sticker on the device during the configuration process. You can find the QR code sticker underneath the back cover of the sensor (please refer to hardware user manual).
  4. Please place the gateway nearby your sensor/device during setup.
  Back to top


Configure PIR Sensor
1. At the i-TimeTec main page, tap “Automation & Security” to start.
2. You must create a ‘room’ to start adding a sensor. Tap “Add room” to create a room. (If you have already created a room for this sensor, you can skip these steps and go to step 7 directly.)
3. Tap “+” to add a room.
4. Select “room” from the list, tap “next” to continue.
5. You can rename the room name if needed. Tap “submit” to continue”.
6. Room has been added. You can see it in the Automation & security page. Tap on the + at top right to continue.
7. Tap “Add Gateways / Sensors & Devices”.
8. Scan the QR code of the PIR motion sensor, it can be found by uncovering the lid at the back of the “egg” shape.
9. This page will pop up after the QR code is scanned. Fill up all the fields. Your sensor must be binded with a smart gateway camera, select it in the gateway list.
10.New PIR sensor is added. You can then proceed to mount the sensor on the designated area.
As the sensor is tamper proof, when you move the sensor it may trigger the alarm siren, stop the siren when it is triggered.

Note: How to stop the siren?
Press the red “Armed” button to stop it. If you have a panic button installed, you can long press the panic button for 10 seconds to stop the siren.
  Back to top


Try Arm/Disarm to test the sensor
Try to arm and disarm the alarm to check if the PIR motion sensor works perfectly. You can trigger the alarm by creating movement around the sensor area.
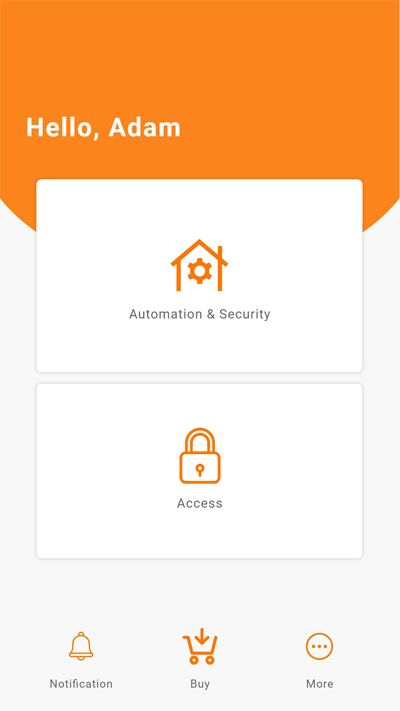
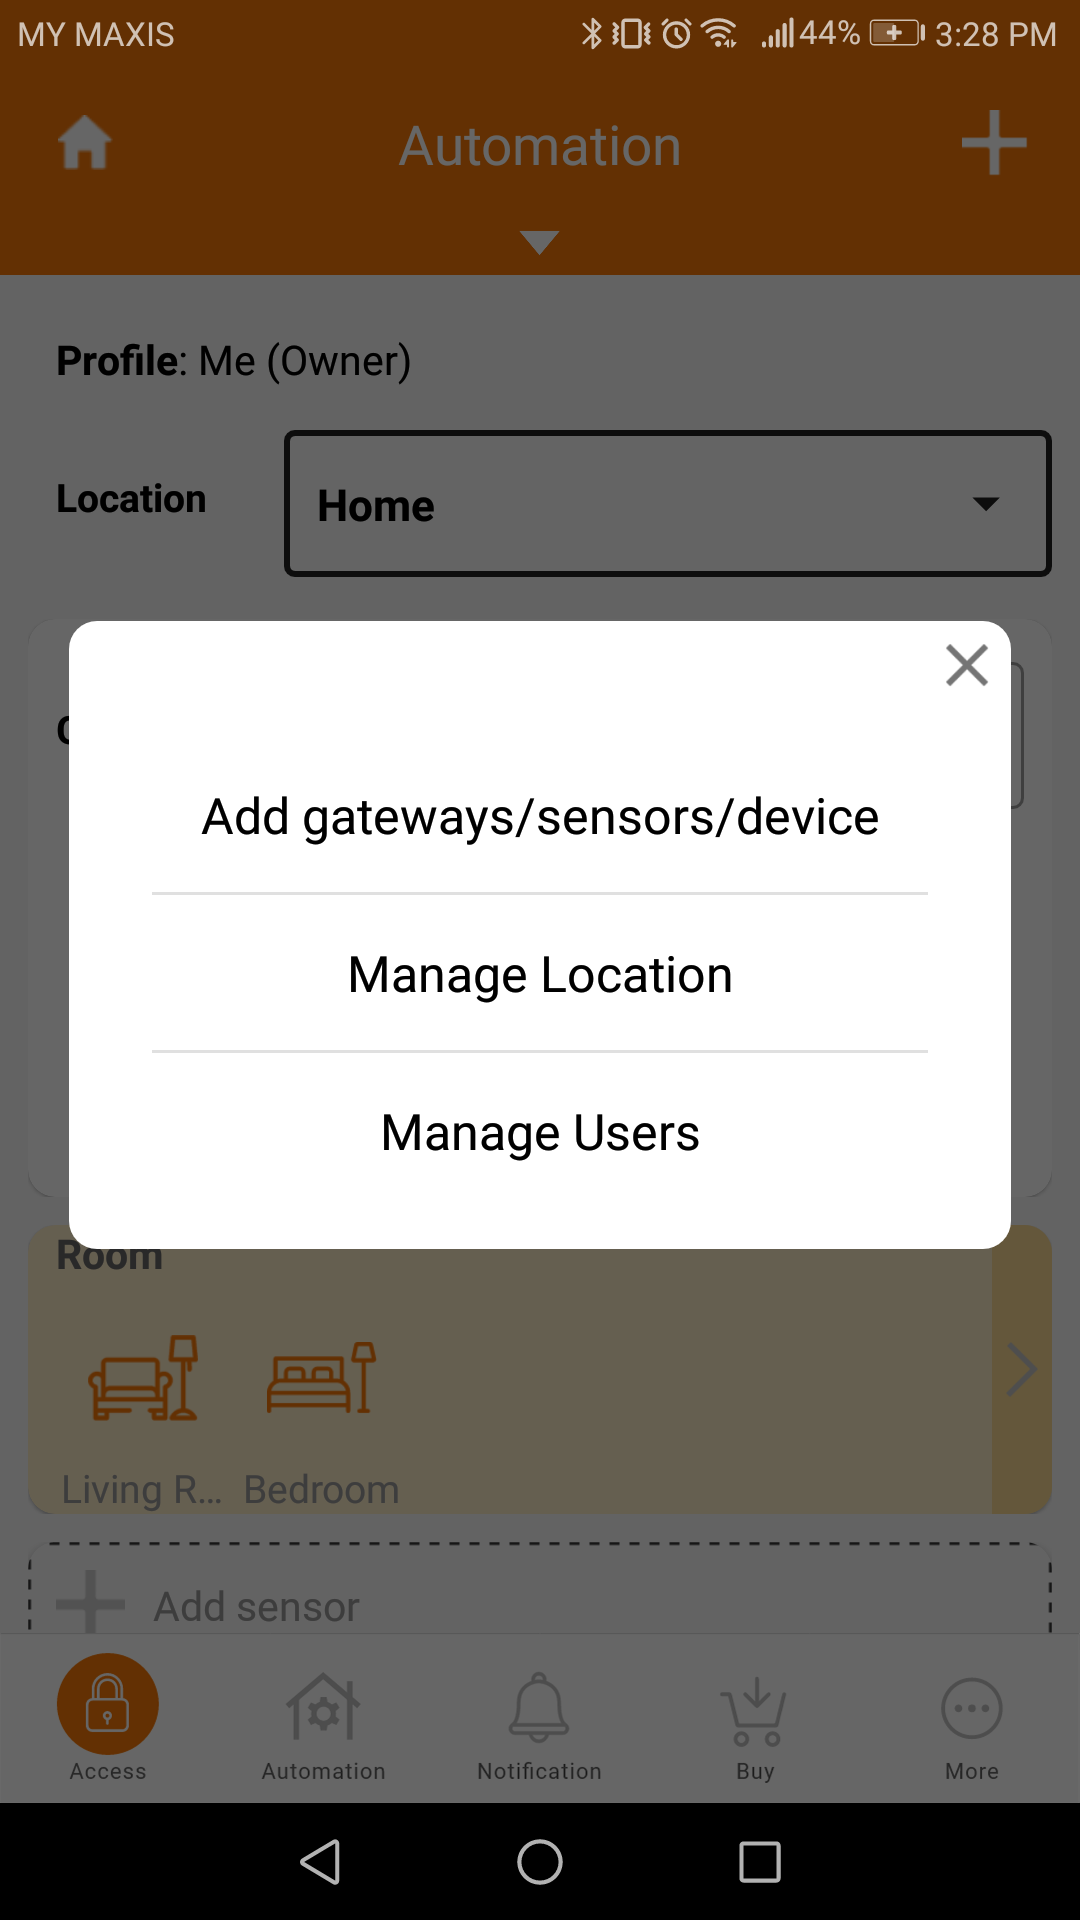
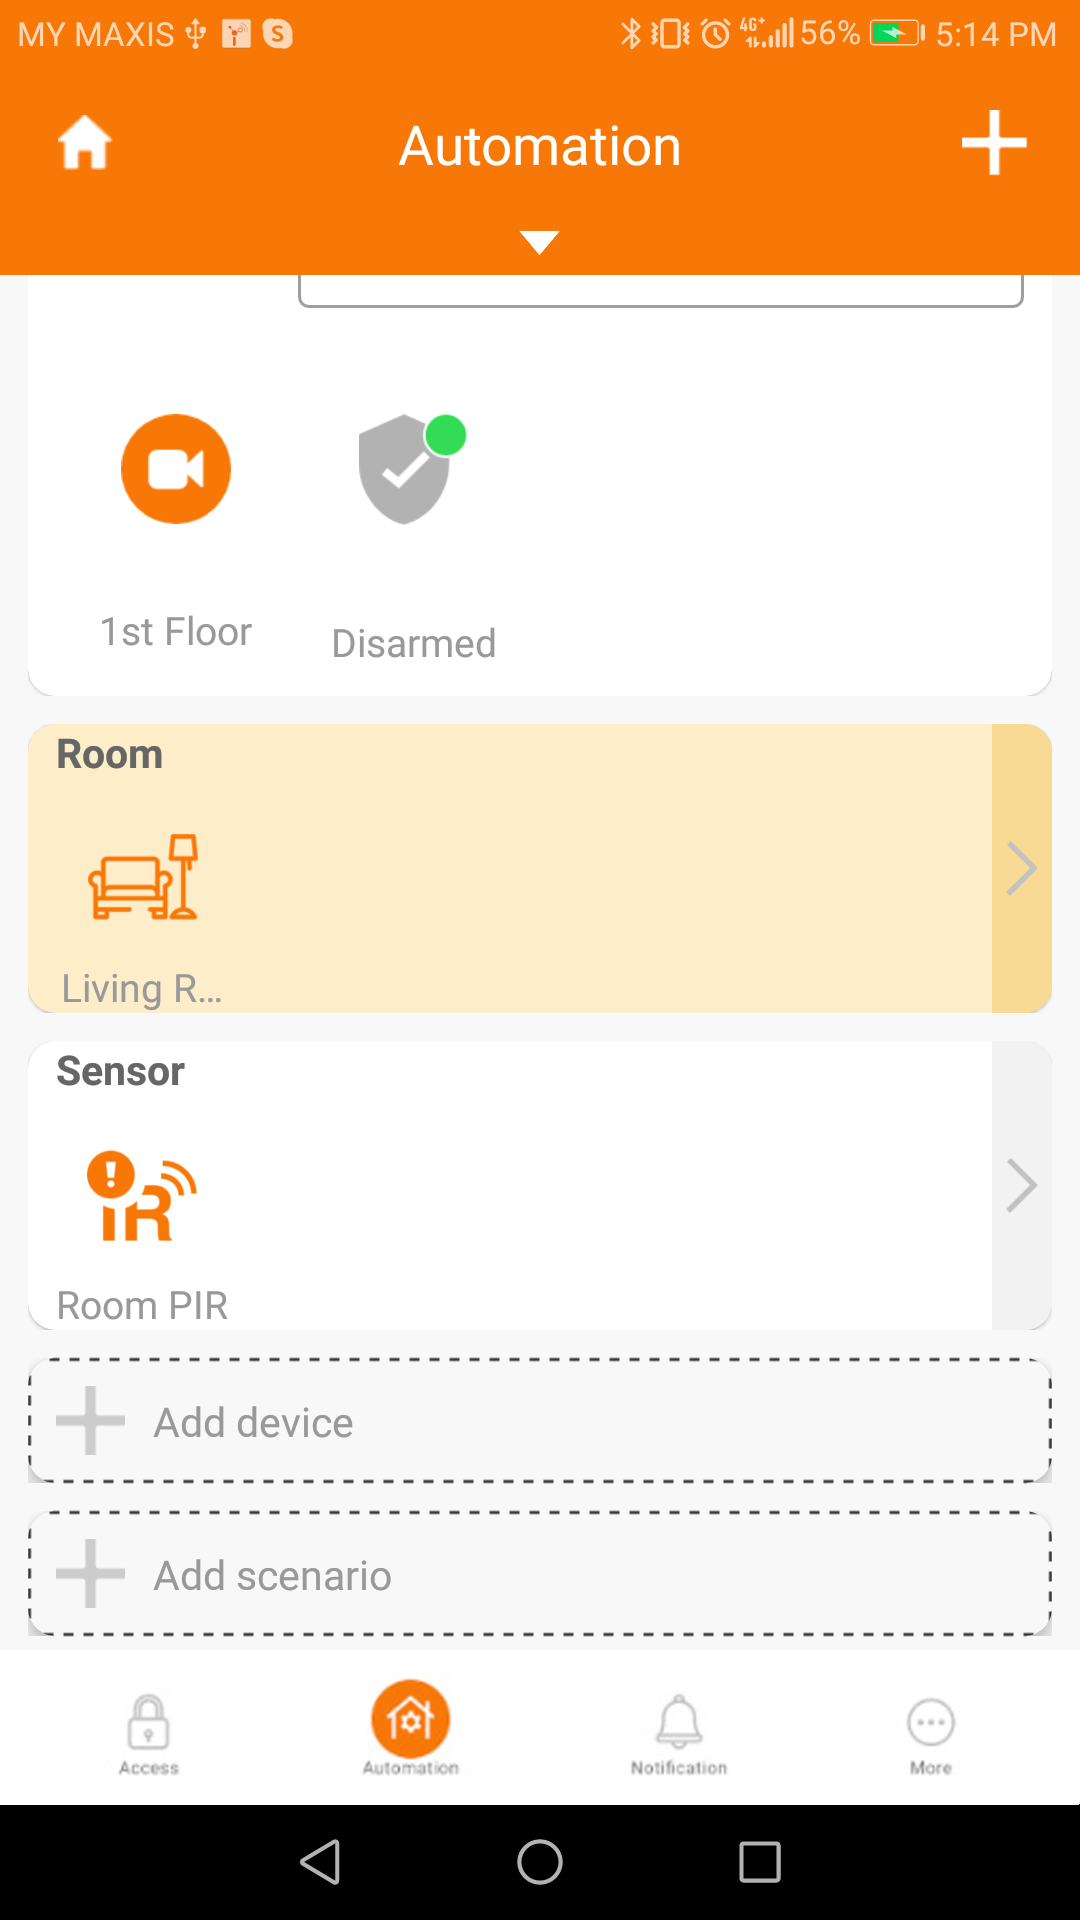
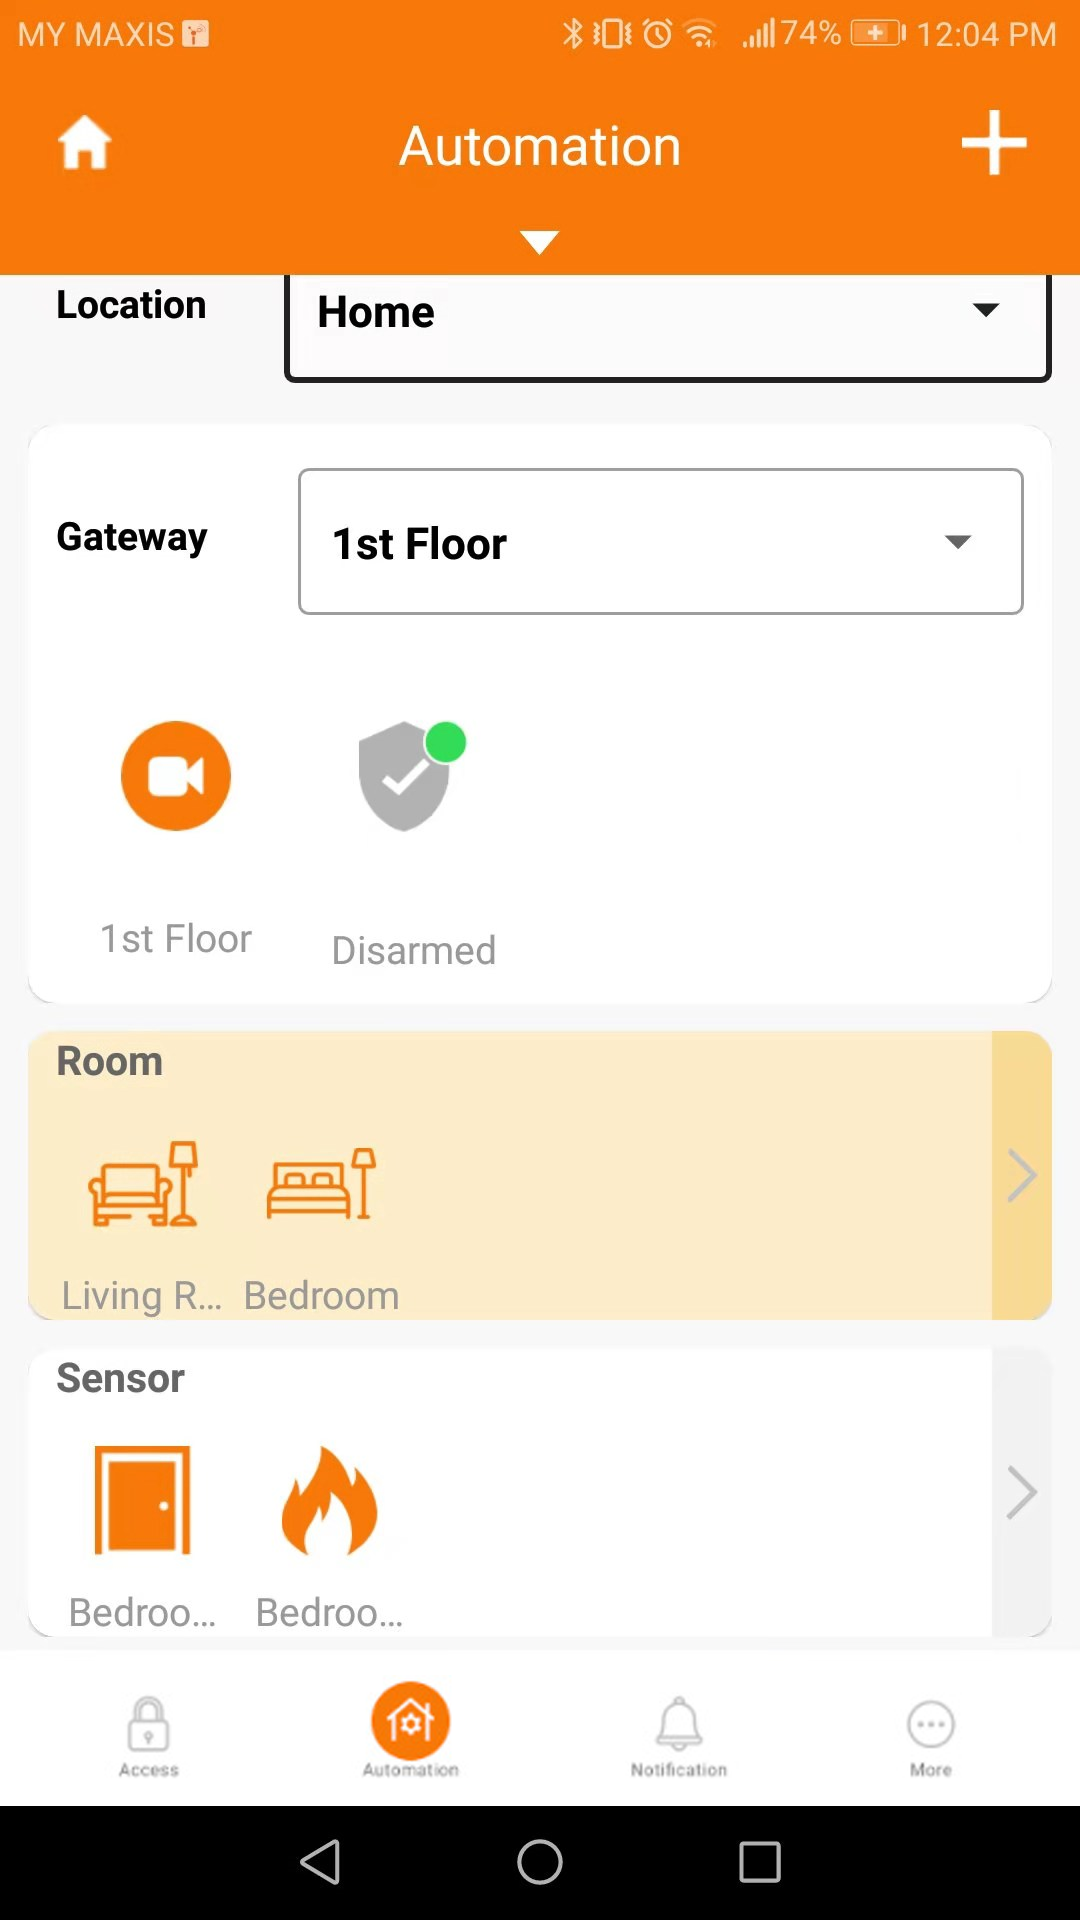
1. At main menu, tap “Automation & Security”
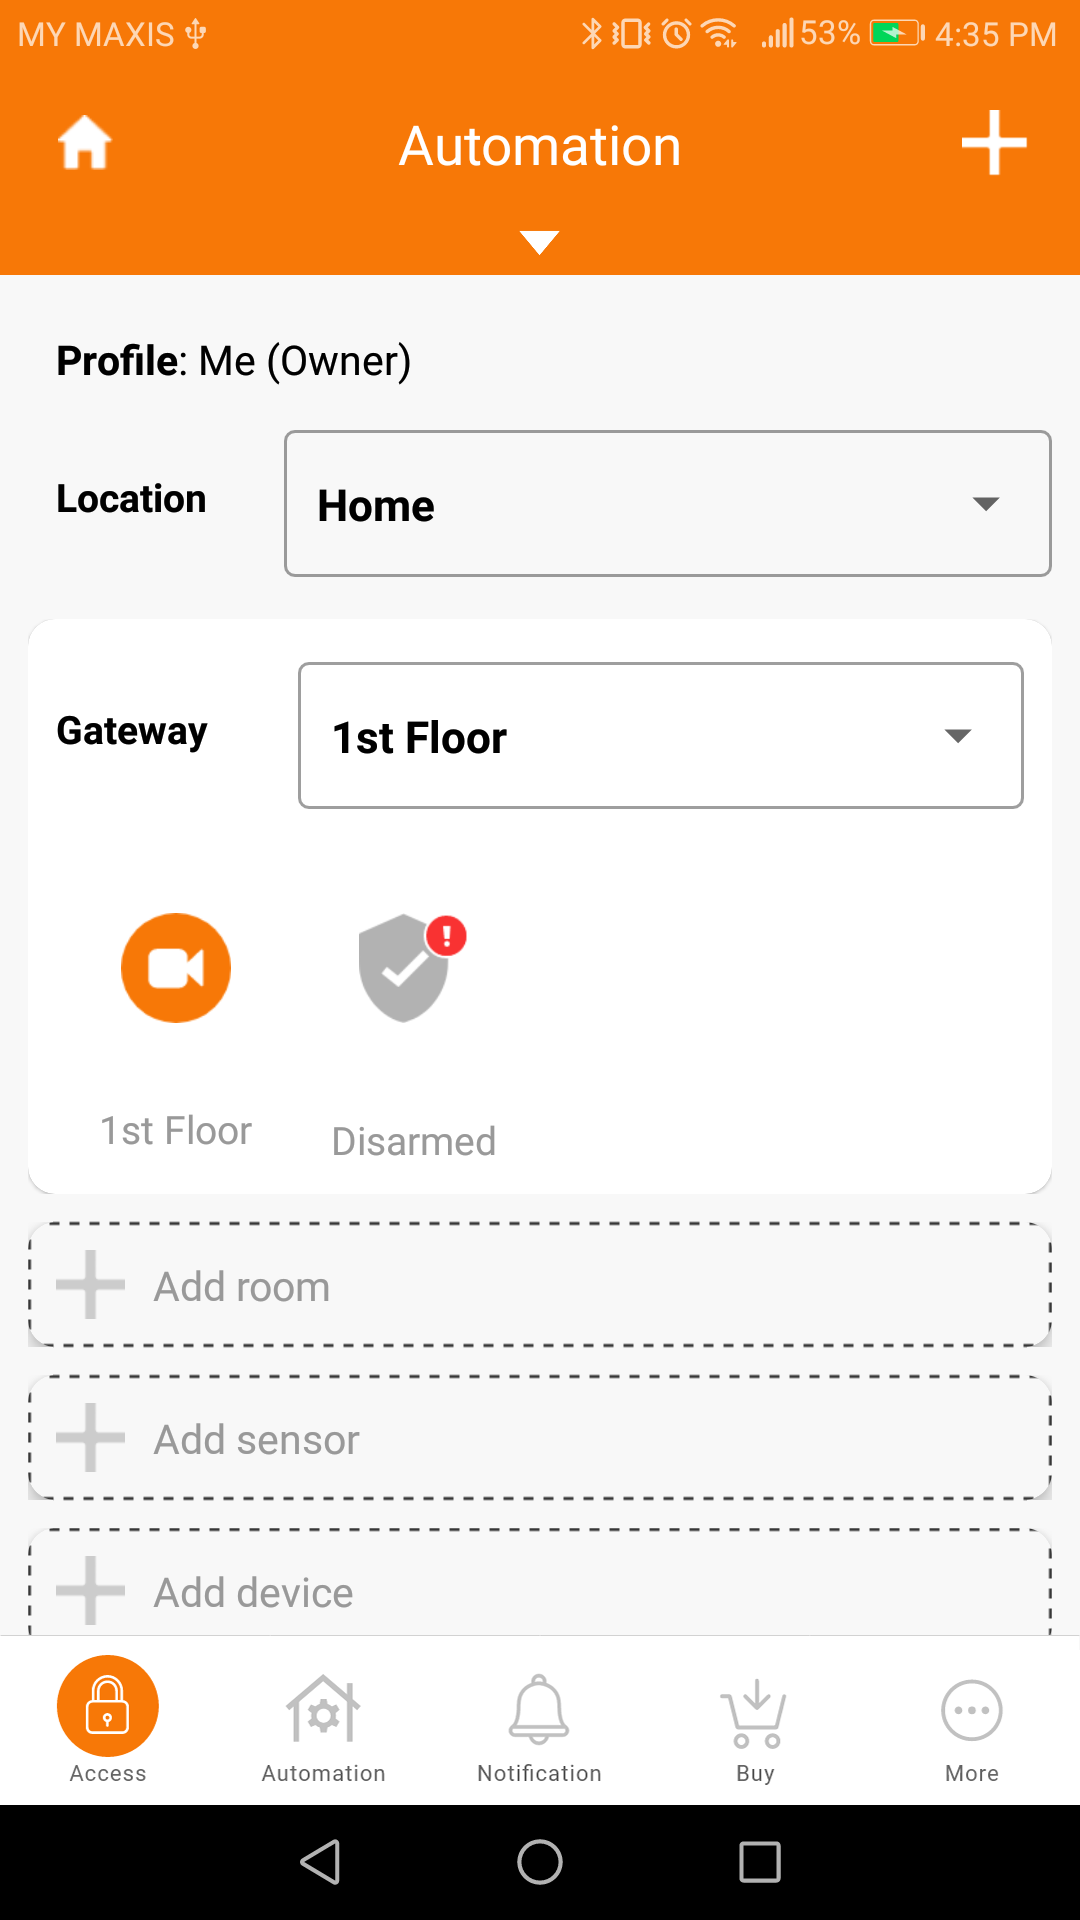
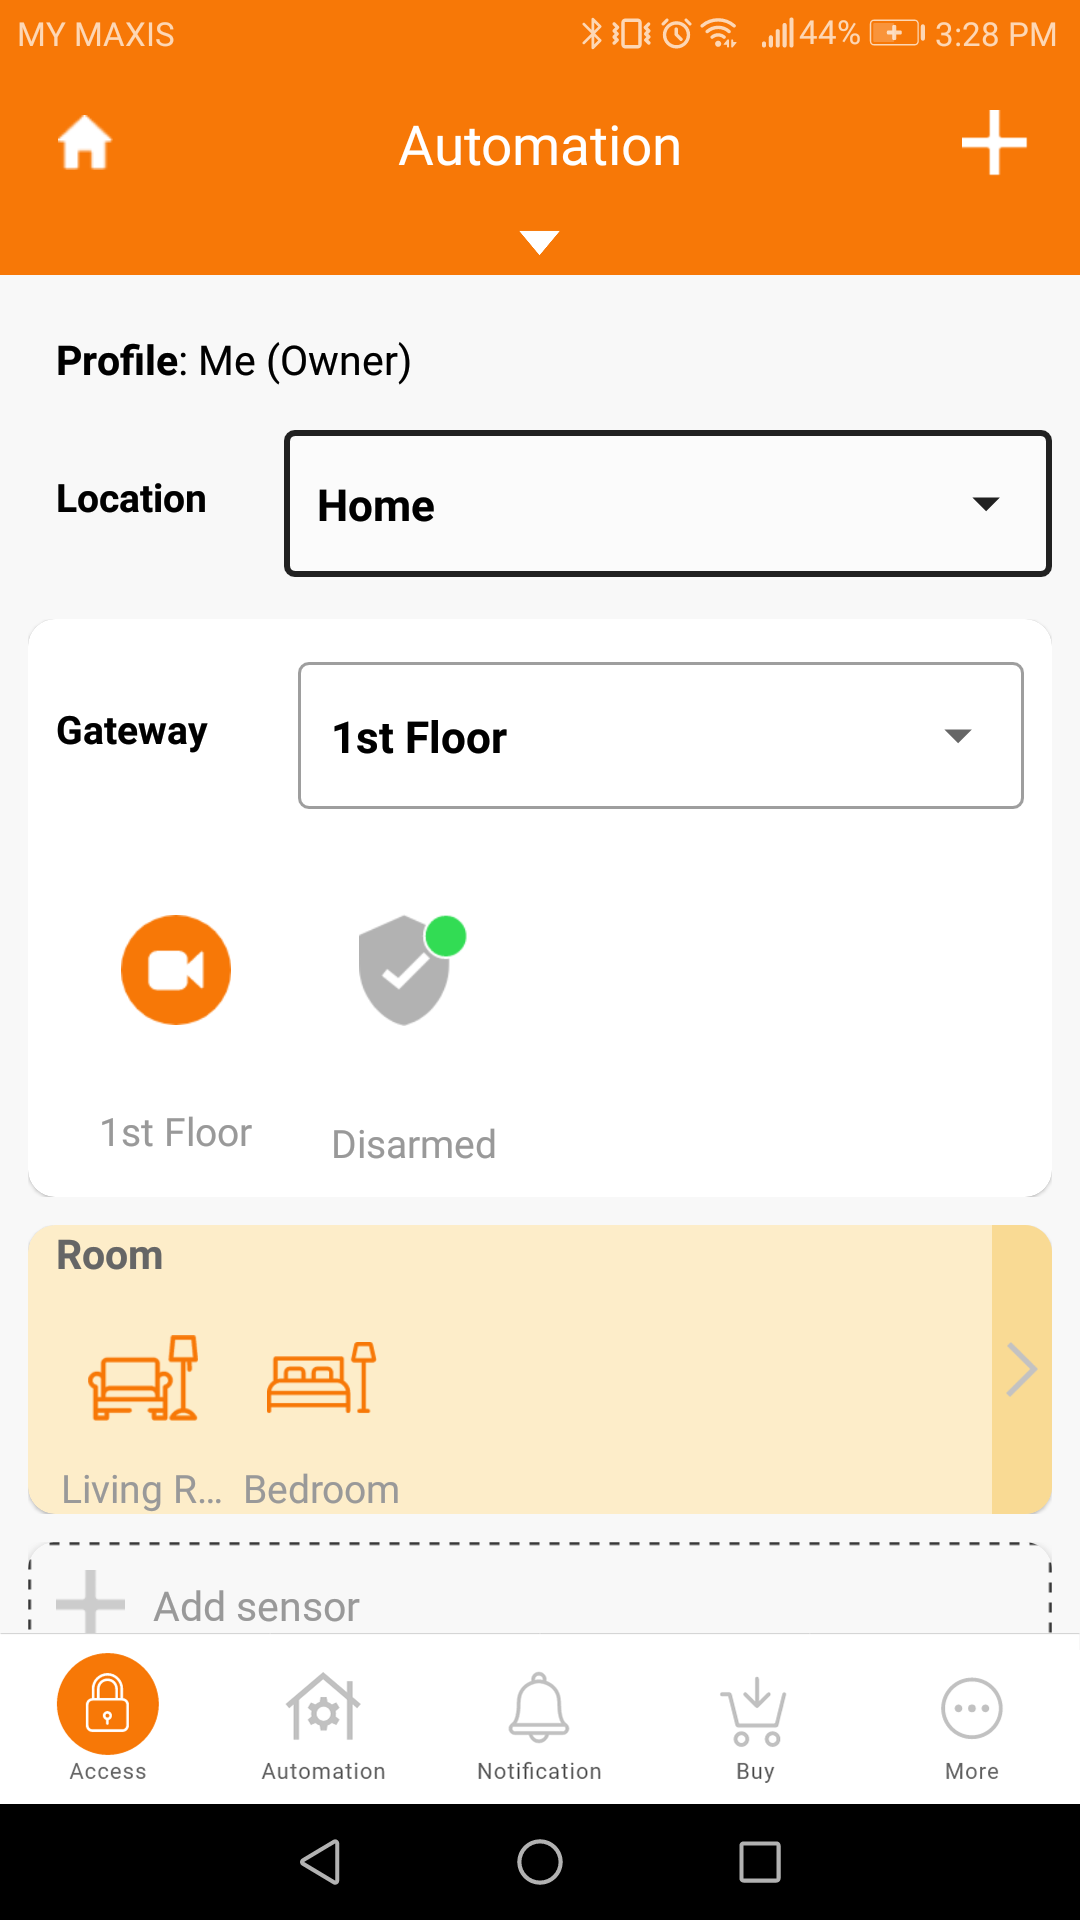
2. To arm the alarm, tap on the grey “disarmed” icon directly. Trigger any sensor to make the siren sounds. When the alarm is triggered, tap “arm” to disarm and to stop the siren.
Note: How to stop the siren?
Press the red “Armed” button to stop it. If it shows a grey “Disarmed” button, please press it twice to stop the alarm siren. Please note that even if you did not arm the alarm, moving the sensors around will be seen as ‘demolishing’ the system hence it will trigger the alarm siren. If you have a panic button installed, you can long press the panic button for 5-10 seconds (until the red LED light on the panic button blinks) to stop the siren.

If you stop the siren by long pressing the panic button, you will need to tap on the ‘disarmed’ and ‘armed’ button in the app to re-activate the alarm.
  Back to top

Note: If some of the screenshots or steps viewed here are different from the ones in the current system, this is due to our continuous effort to improve our system from time to time. Please notify us at info@timeteccloud.com, we will update it as soon as possible.