

| TimeTec has merged all of its solutions into www.timeteccloud.com, click to | Redirect |
|
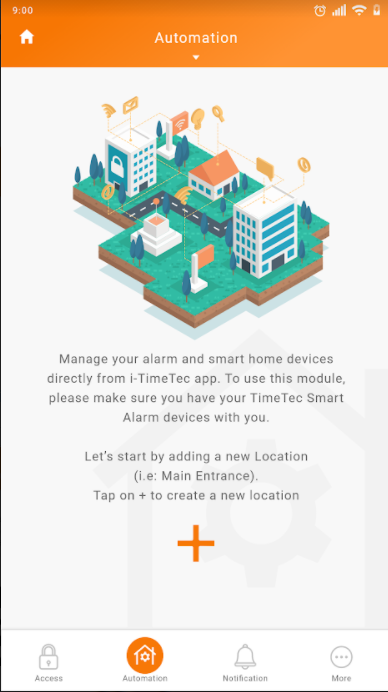
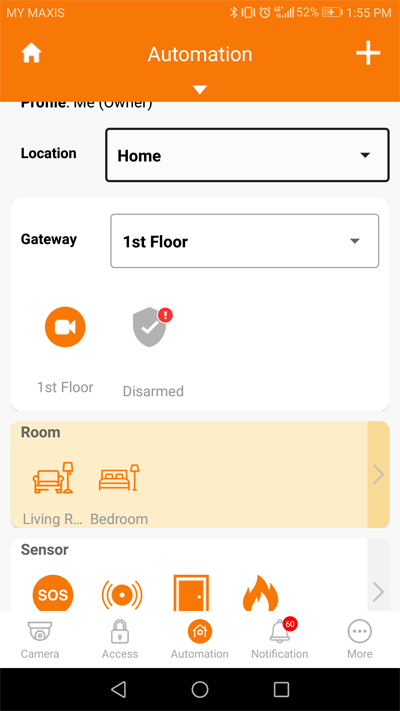
| 1. At the main menu, tap “Automation & Security” to start configuration. |
 |
| 2. Tap “+” to add your device. |
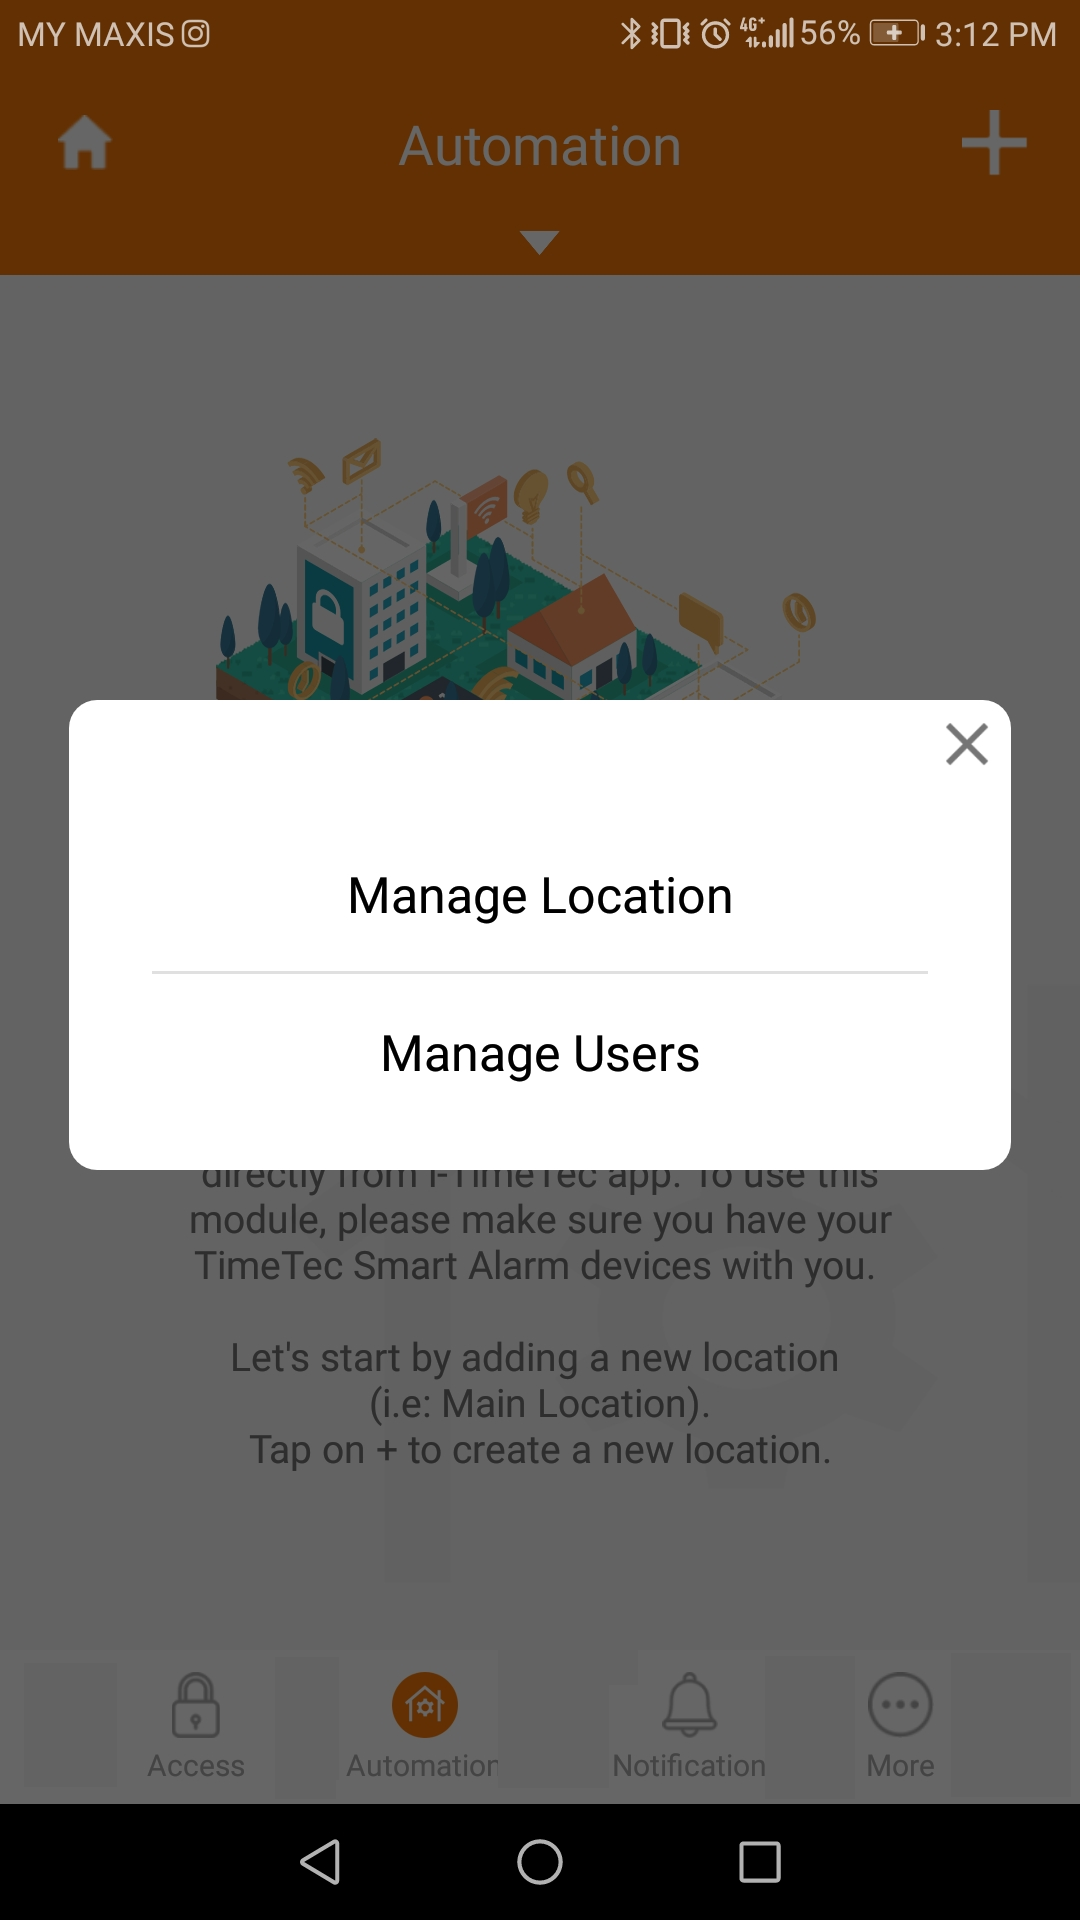 |
| 3. Select “Manage Location”. |
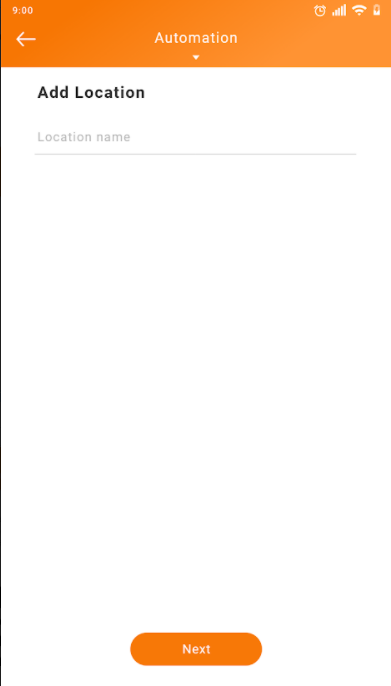 |
| 4. Add location that you will install this gateway camera, for eg “Home”. |
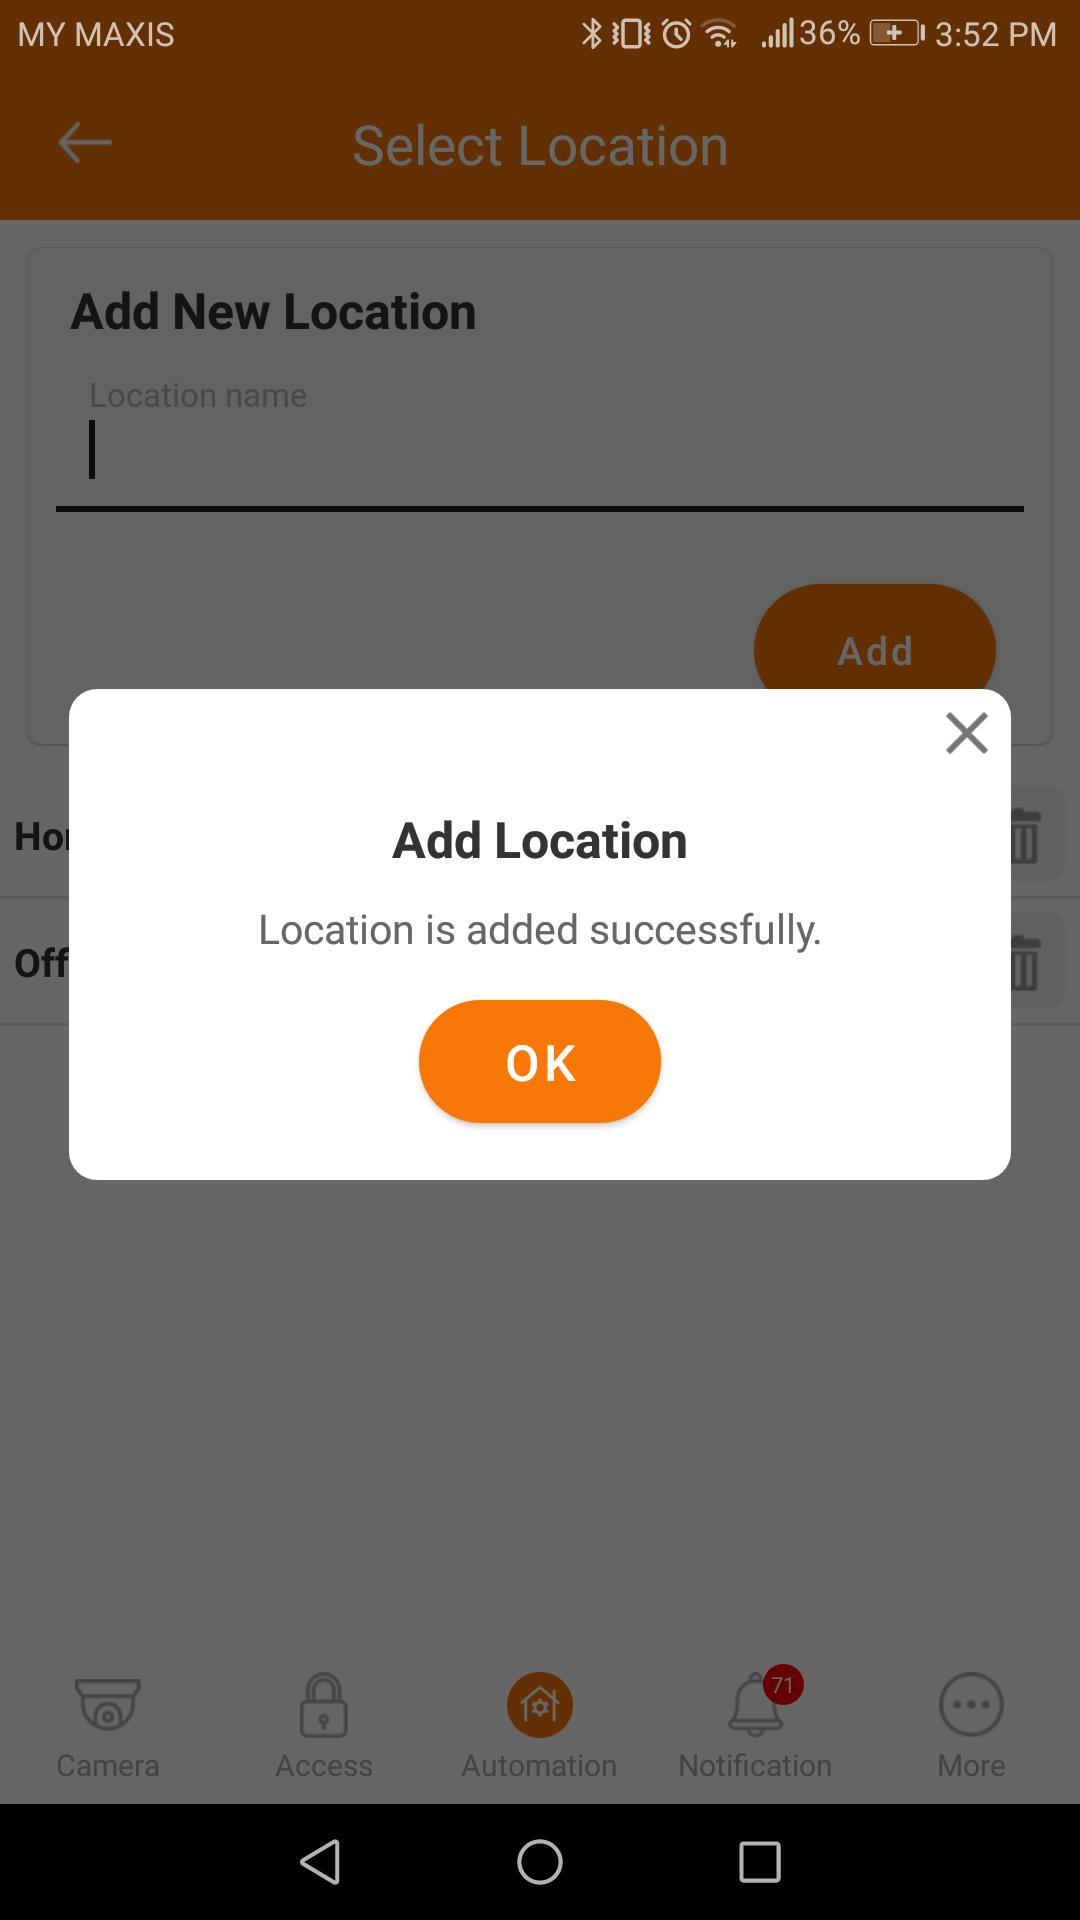 |
| 5. Tap “Next” and you will see this pop up message. |
 |
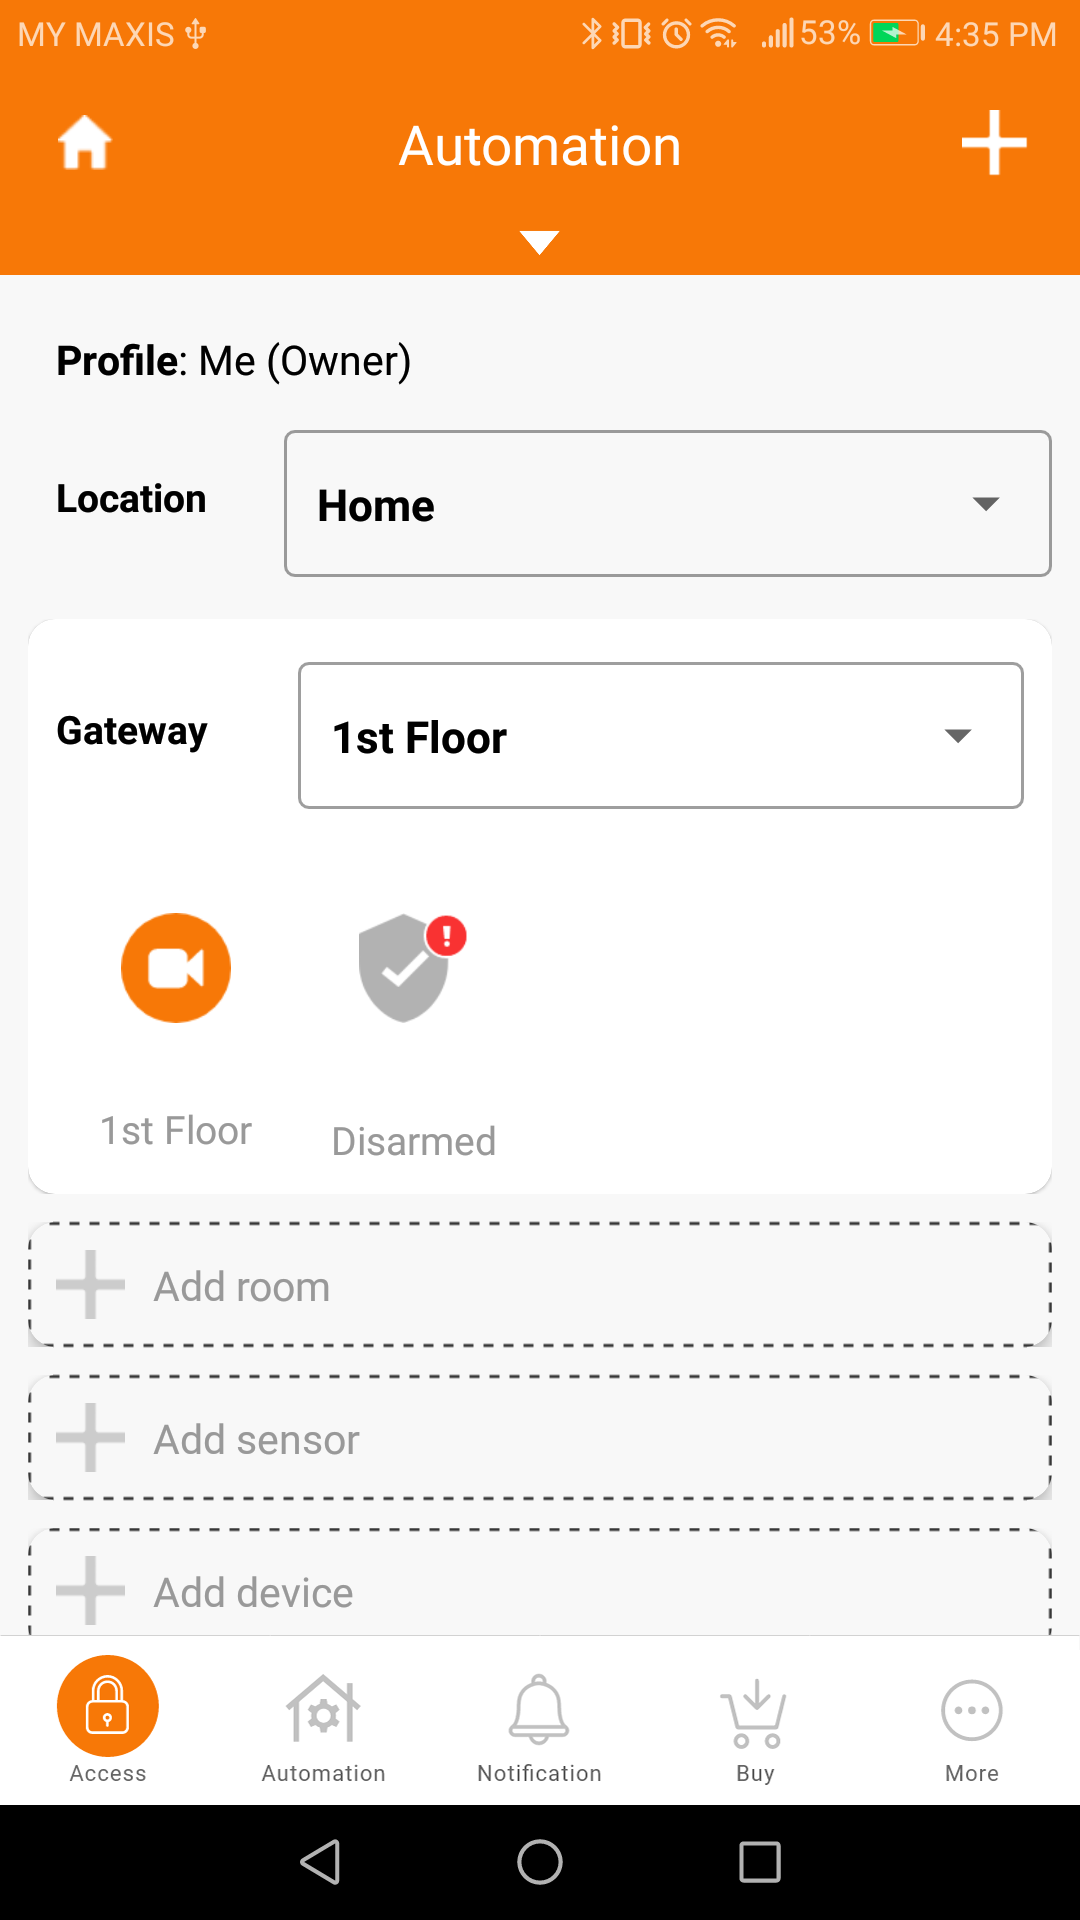
| 6. A new location called “home” has been added instantly. Tap ← back to automation/security page to add gateway, sensors, rooms etc. |
 |
| 1. At the Automation & Security page, tap “+” |
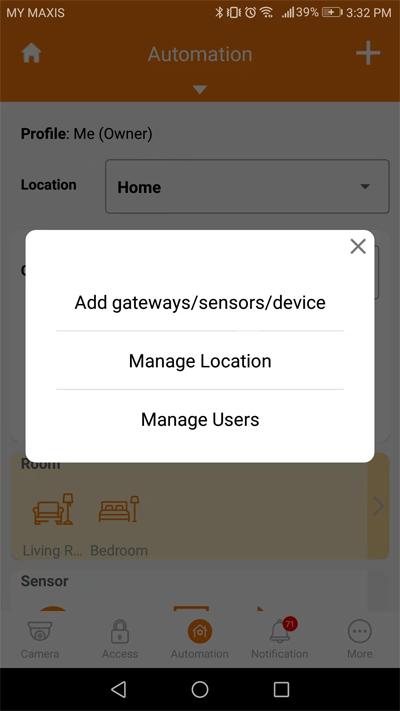 |
| 2. Tap on “Manage Location” |
 |
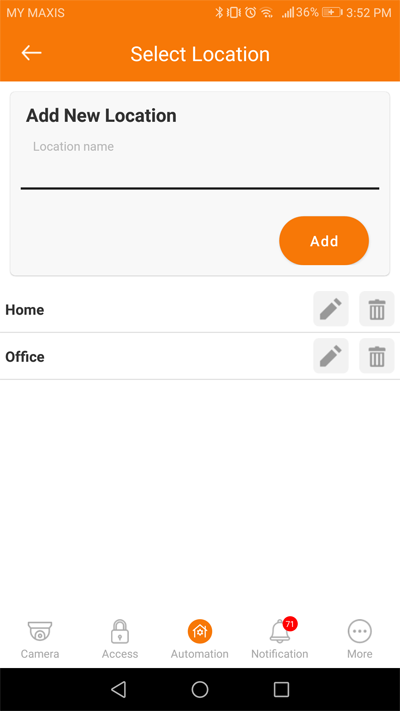
| 3. Fill in the new location name and tap “Add”. |
 |
| 4. New location has been added successfully. |
 |
| 5. You can see the new location listed in the manage location page. |
 |
| 1. At the Automation & Security page, tap “+” |
 |
| 2. Tap on “Manage Location” |
 |
| 3. Tap the pencil icon to edit the “Home” location. |
 |
| 4. Enter the new name of the location and tap “submit”. |
 |
| 5. The location has been renamed successfully. Edited name will be reflected immediately in the list. |
 |
| 1. At the Automation & Security page, tap “+” |
 |
| 2. Tap on “Manage Location” |
 |
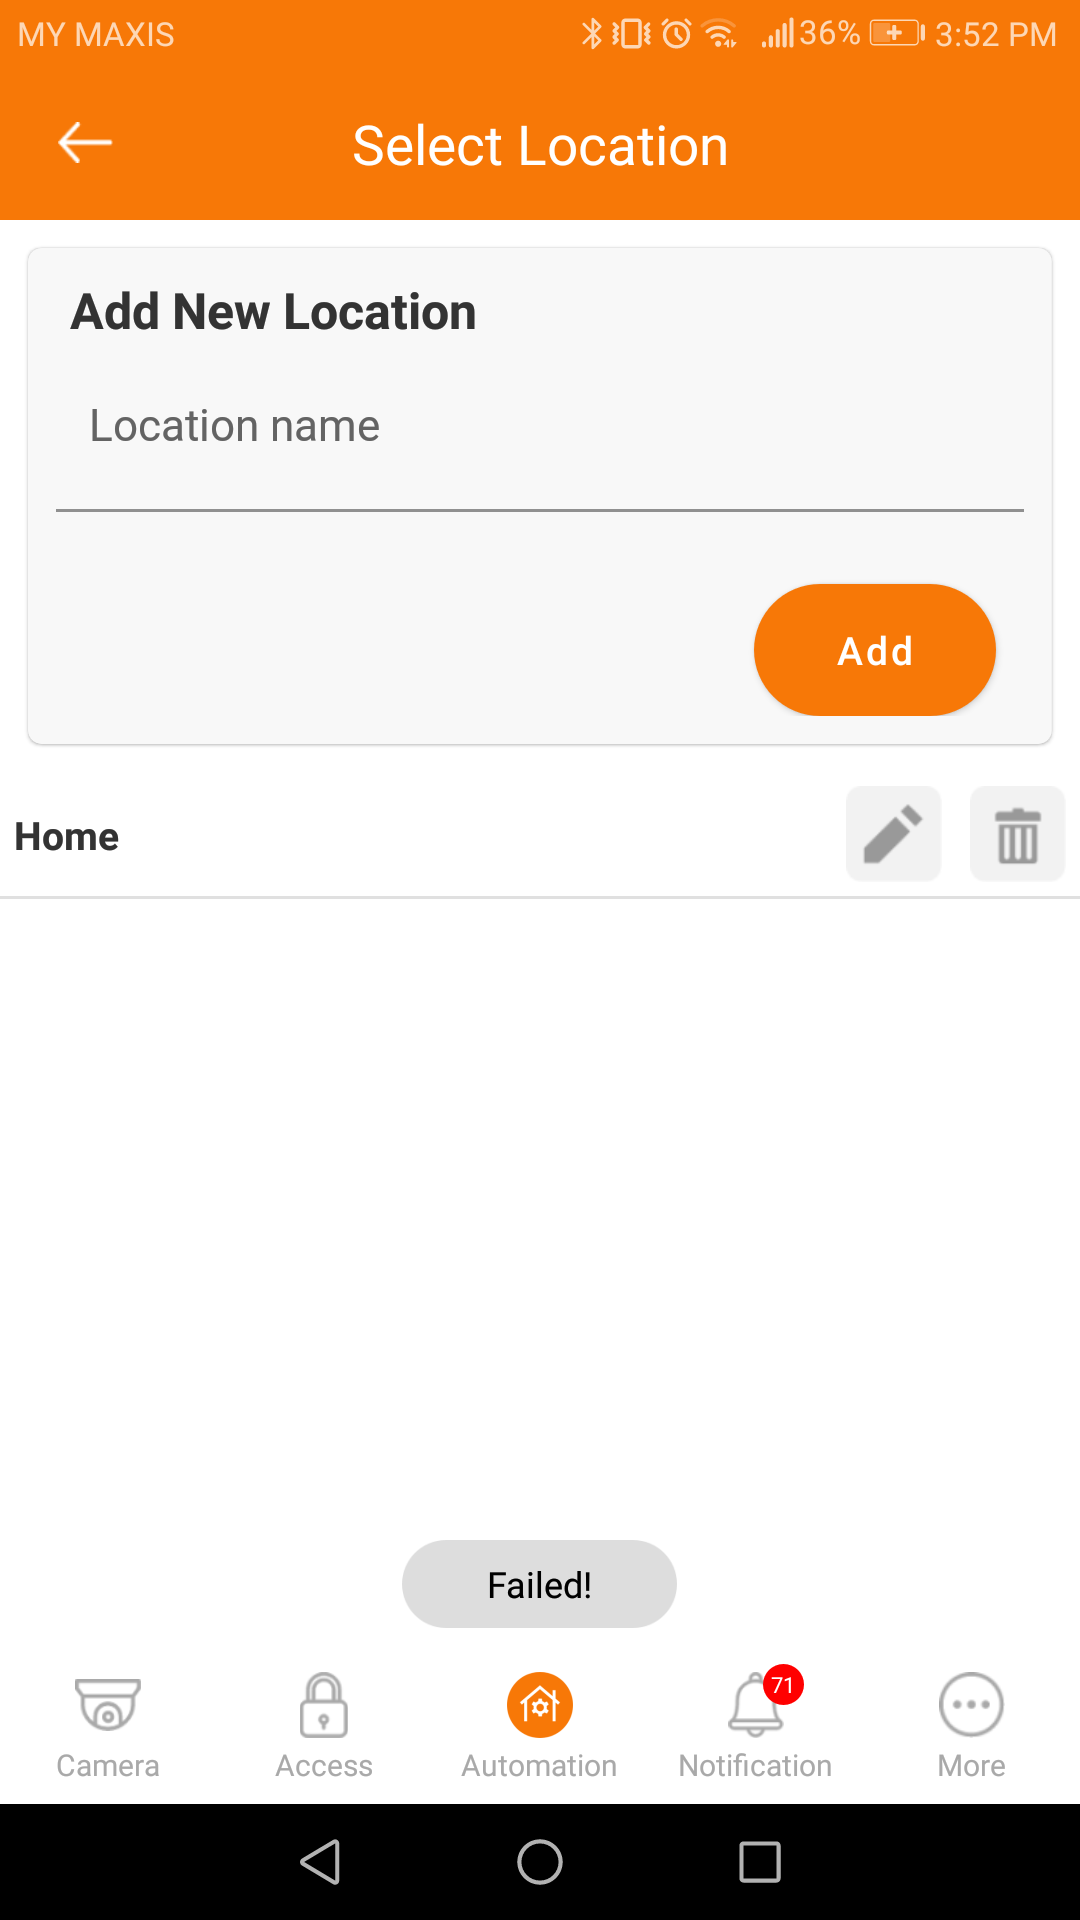
| 3. Tap the trash icon to remove the location that you want to remove. |
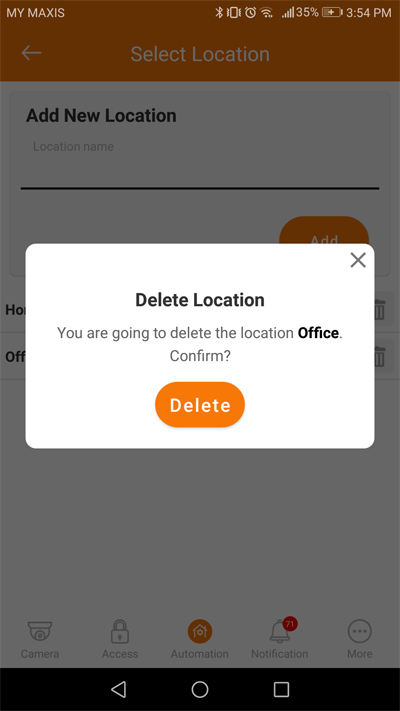 |
| 4. Tap “Delete” to confirm deletion. |
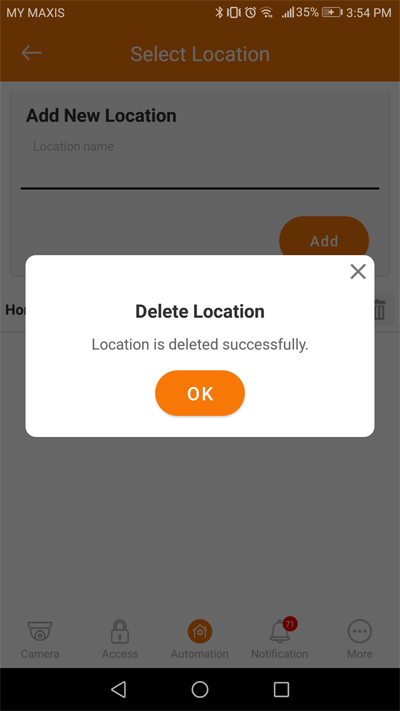 |
| 5. The location has been removed successfully. Tap “OK” and it will be reflected instantly on the location list. |
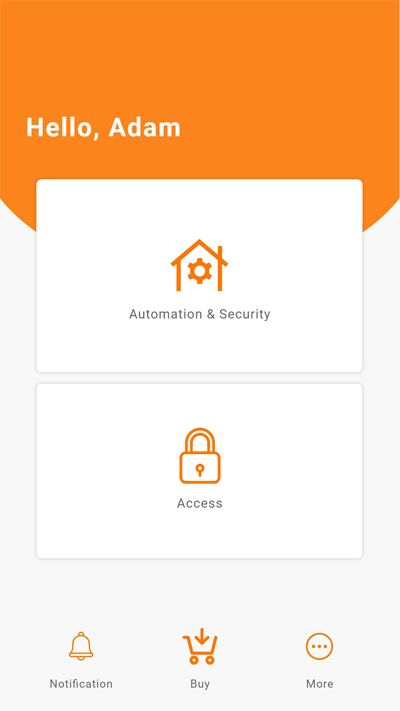 |
| 1. At the i-TimeTec main page, tap “Automation & Security” to start. |
 |
| 2. You must create a ‘room’ to start adding a sensor. Tap “Add room” to create a room. (If you have already created a room for this sensor, you can skip these steps and go to step 7 directly.) |
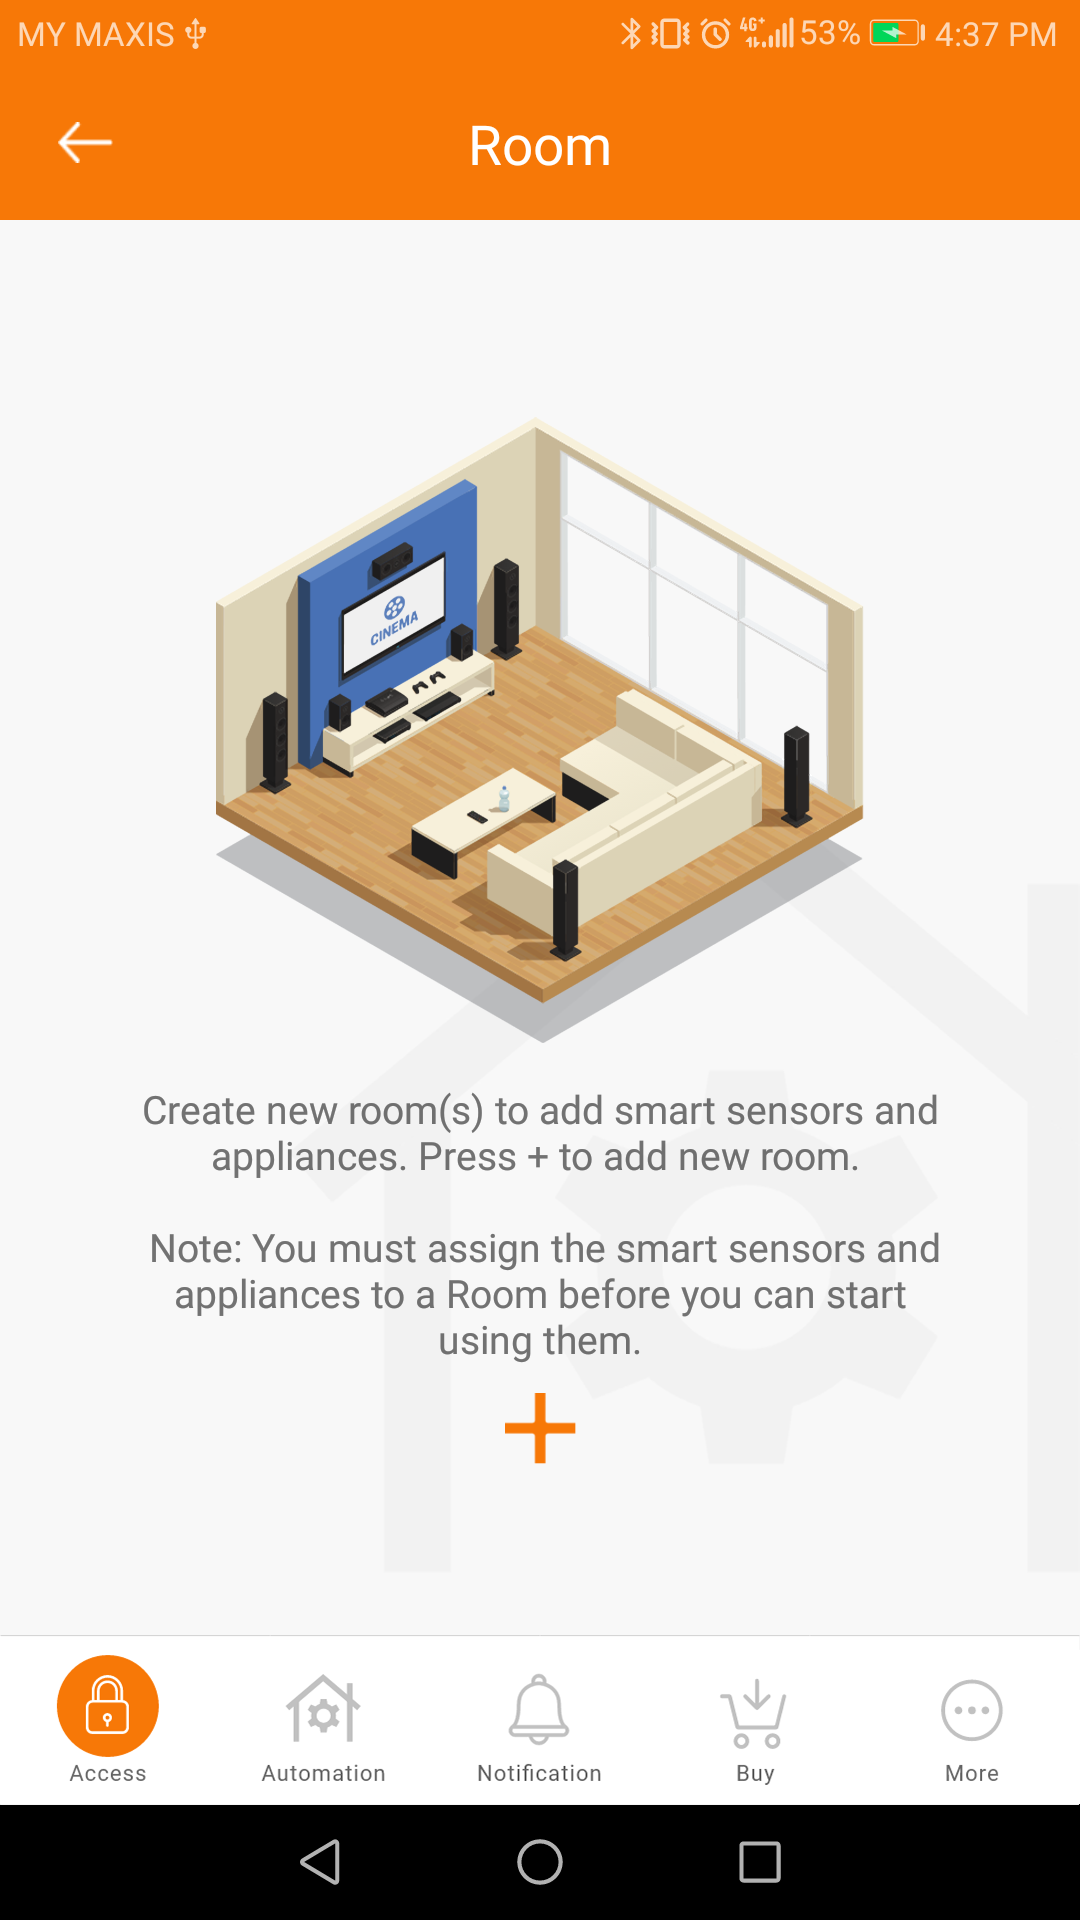 |
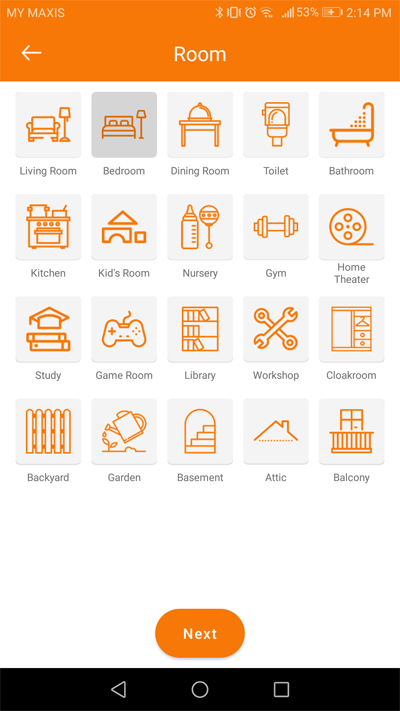
| 3. Tap “+” to add a room. |
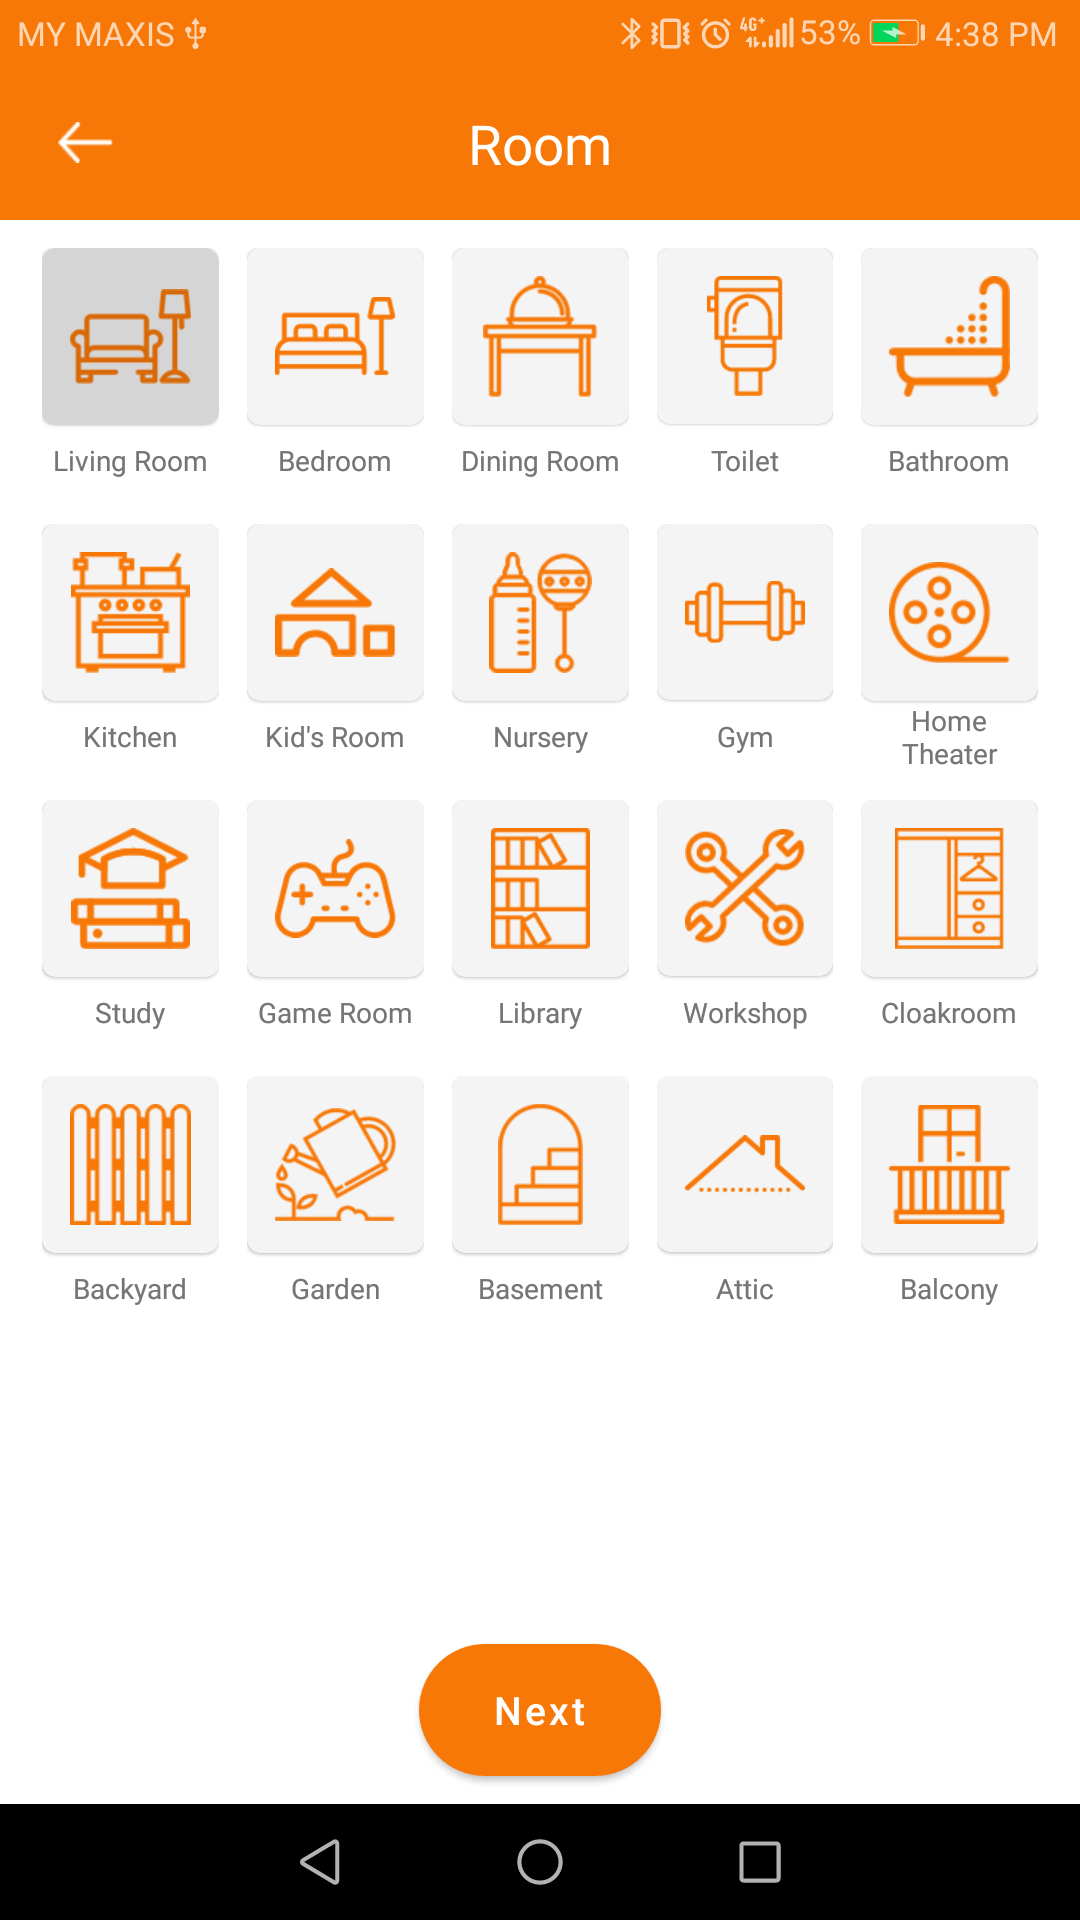 |
| 4. Select “room” from the list, tap “next” to continue. |
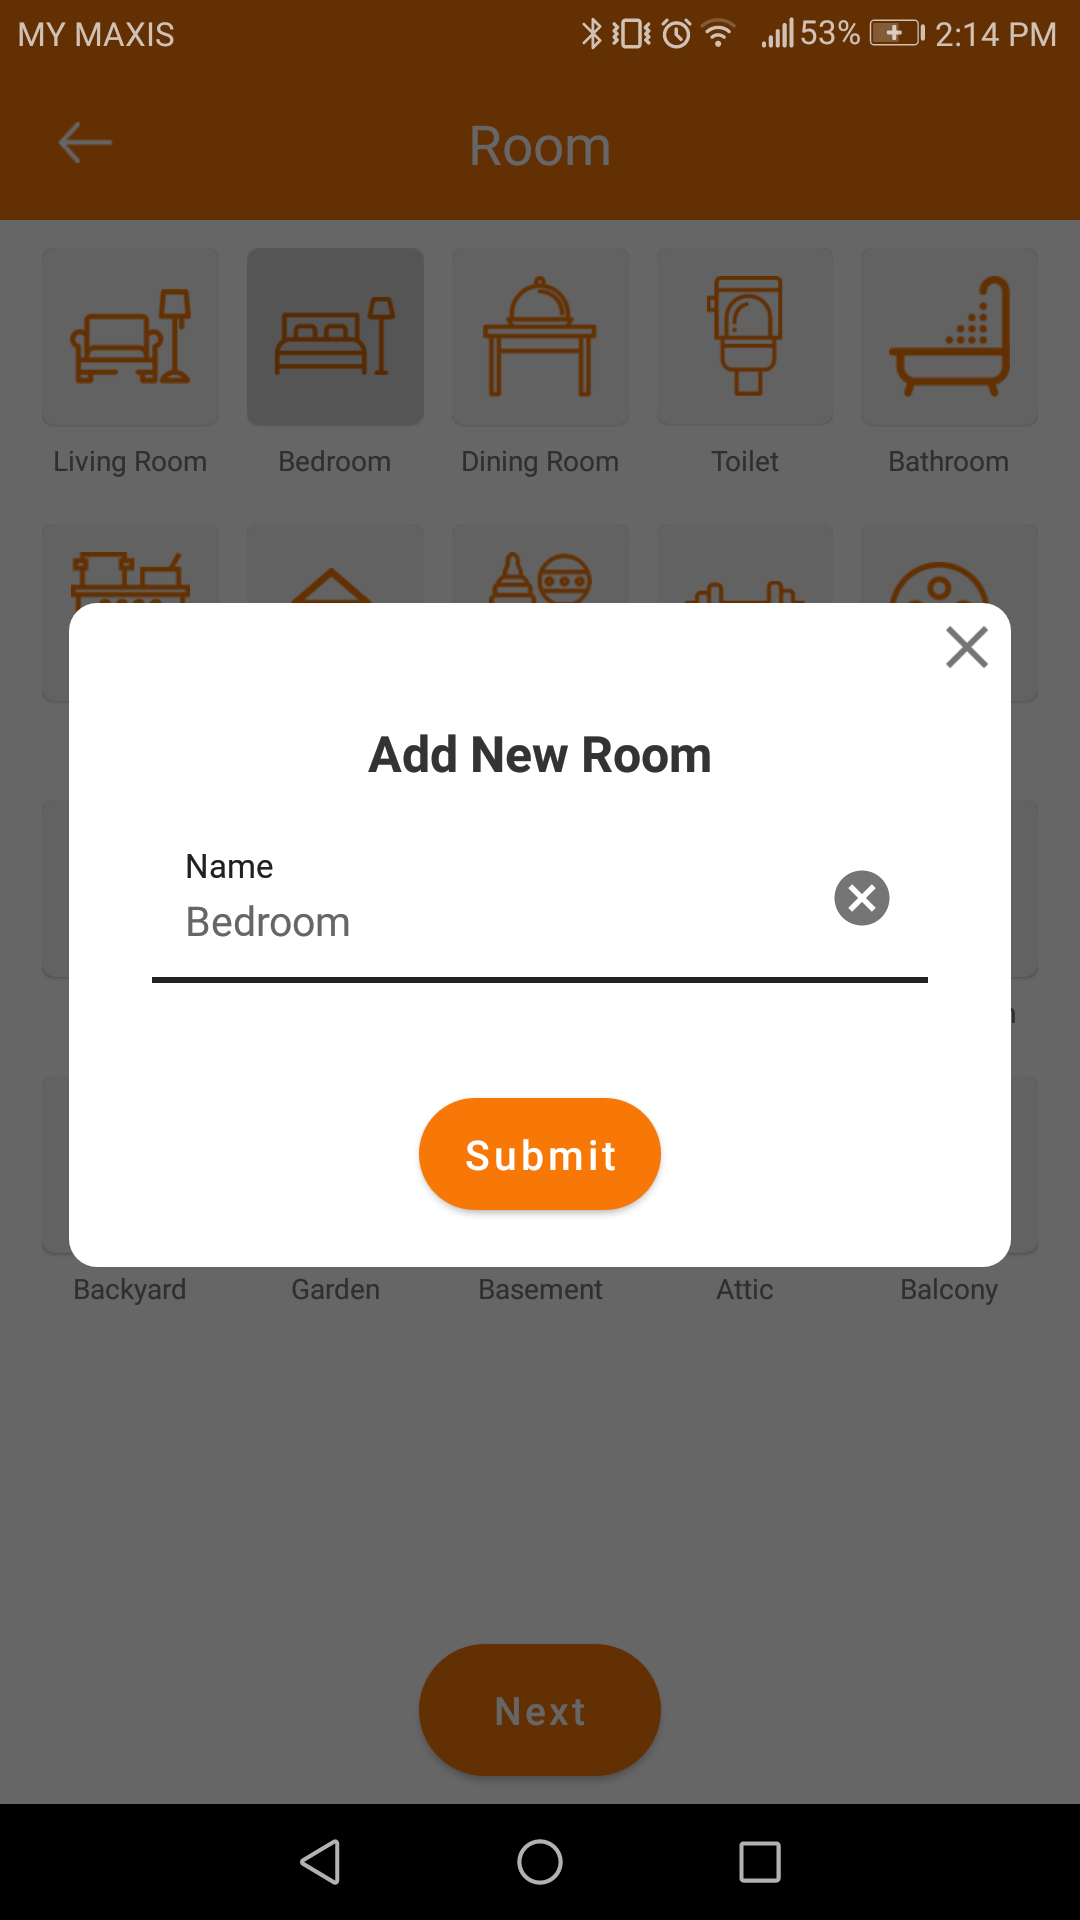 |
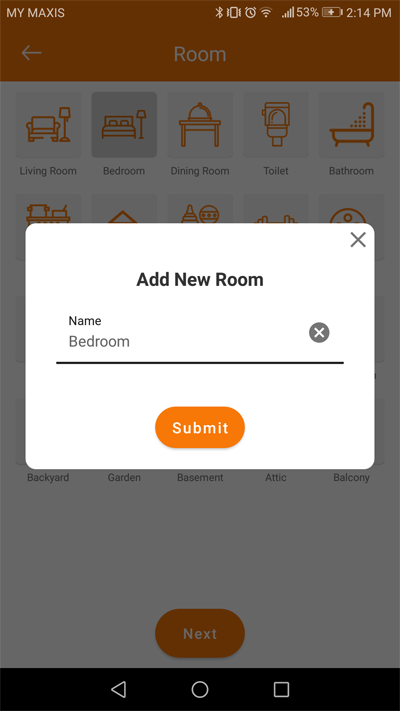
| 5. You can rename the room name if needed. Tap “submit” to continue”. |
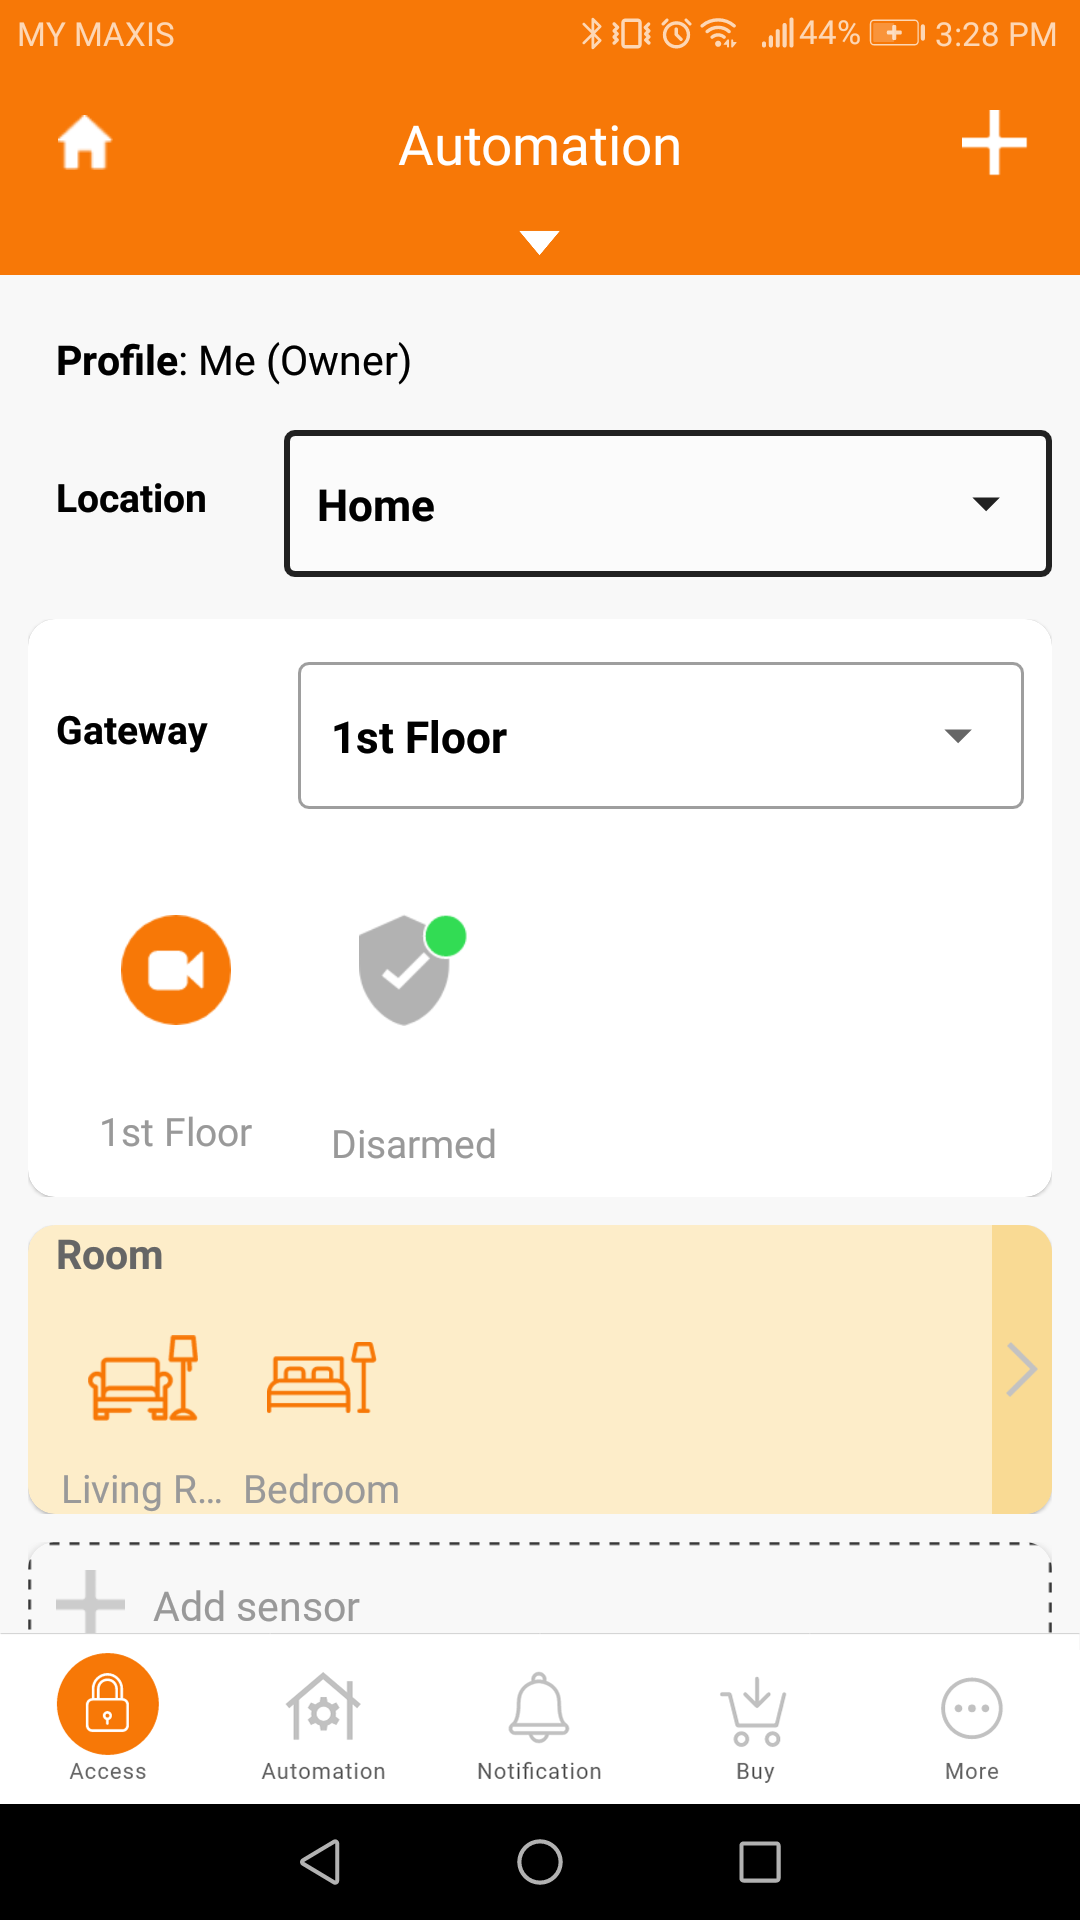 |
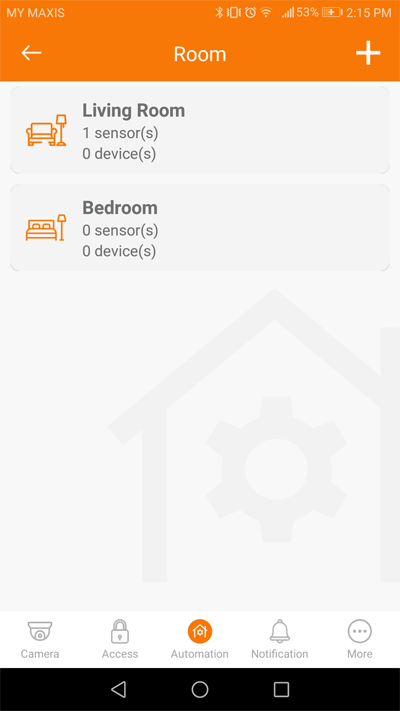
| 6. Room has been added. You can see it in the Automation & security page. |
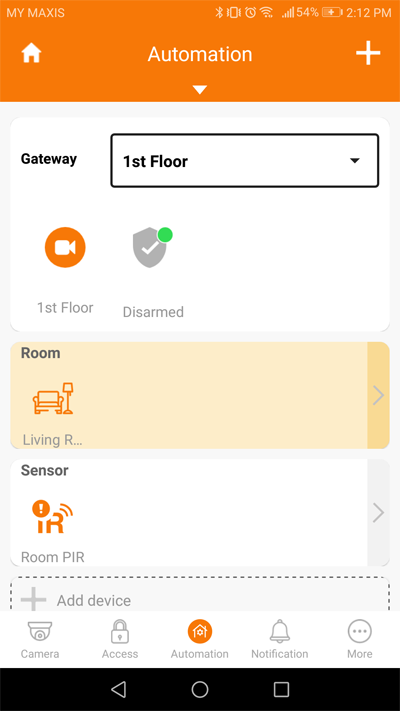 |
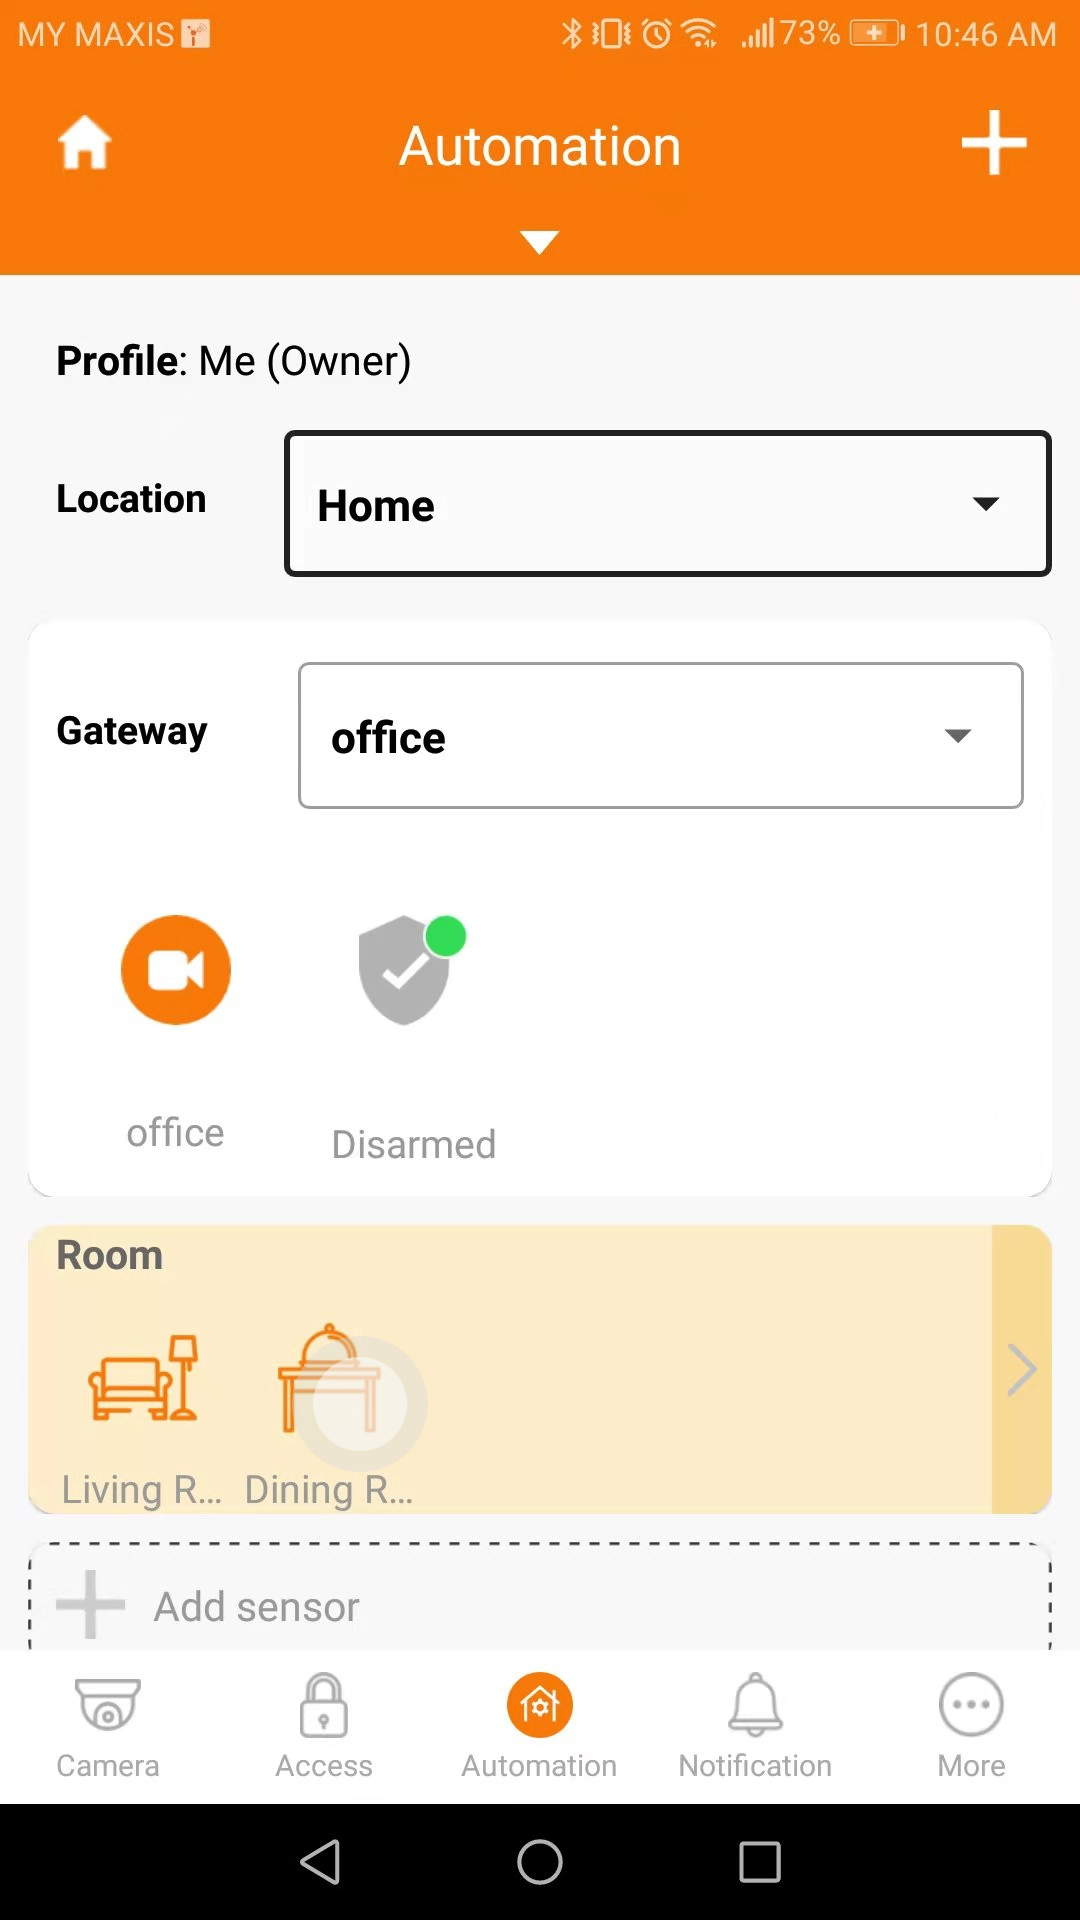
| 1. Tap on the “>” of “Room” |
 |
| 2. You will see a list of rooms. Tap on the “+” |
 |
| 3. Select the room type that you want to add. |
 |
| 4. Edit the room name if necessary, tap ‘submit’ to continue |
 |
| 5. New room has been added successfully. |
 |
| 1. Tap on the room icon that you want to rename. |
 |
| 2. Edit the room name accordingly and tap “Submit” |
 |
| 3. Room name has been renamed instantly. |
 |
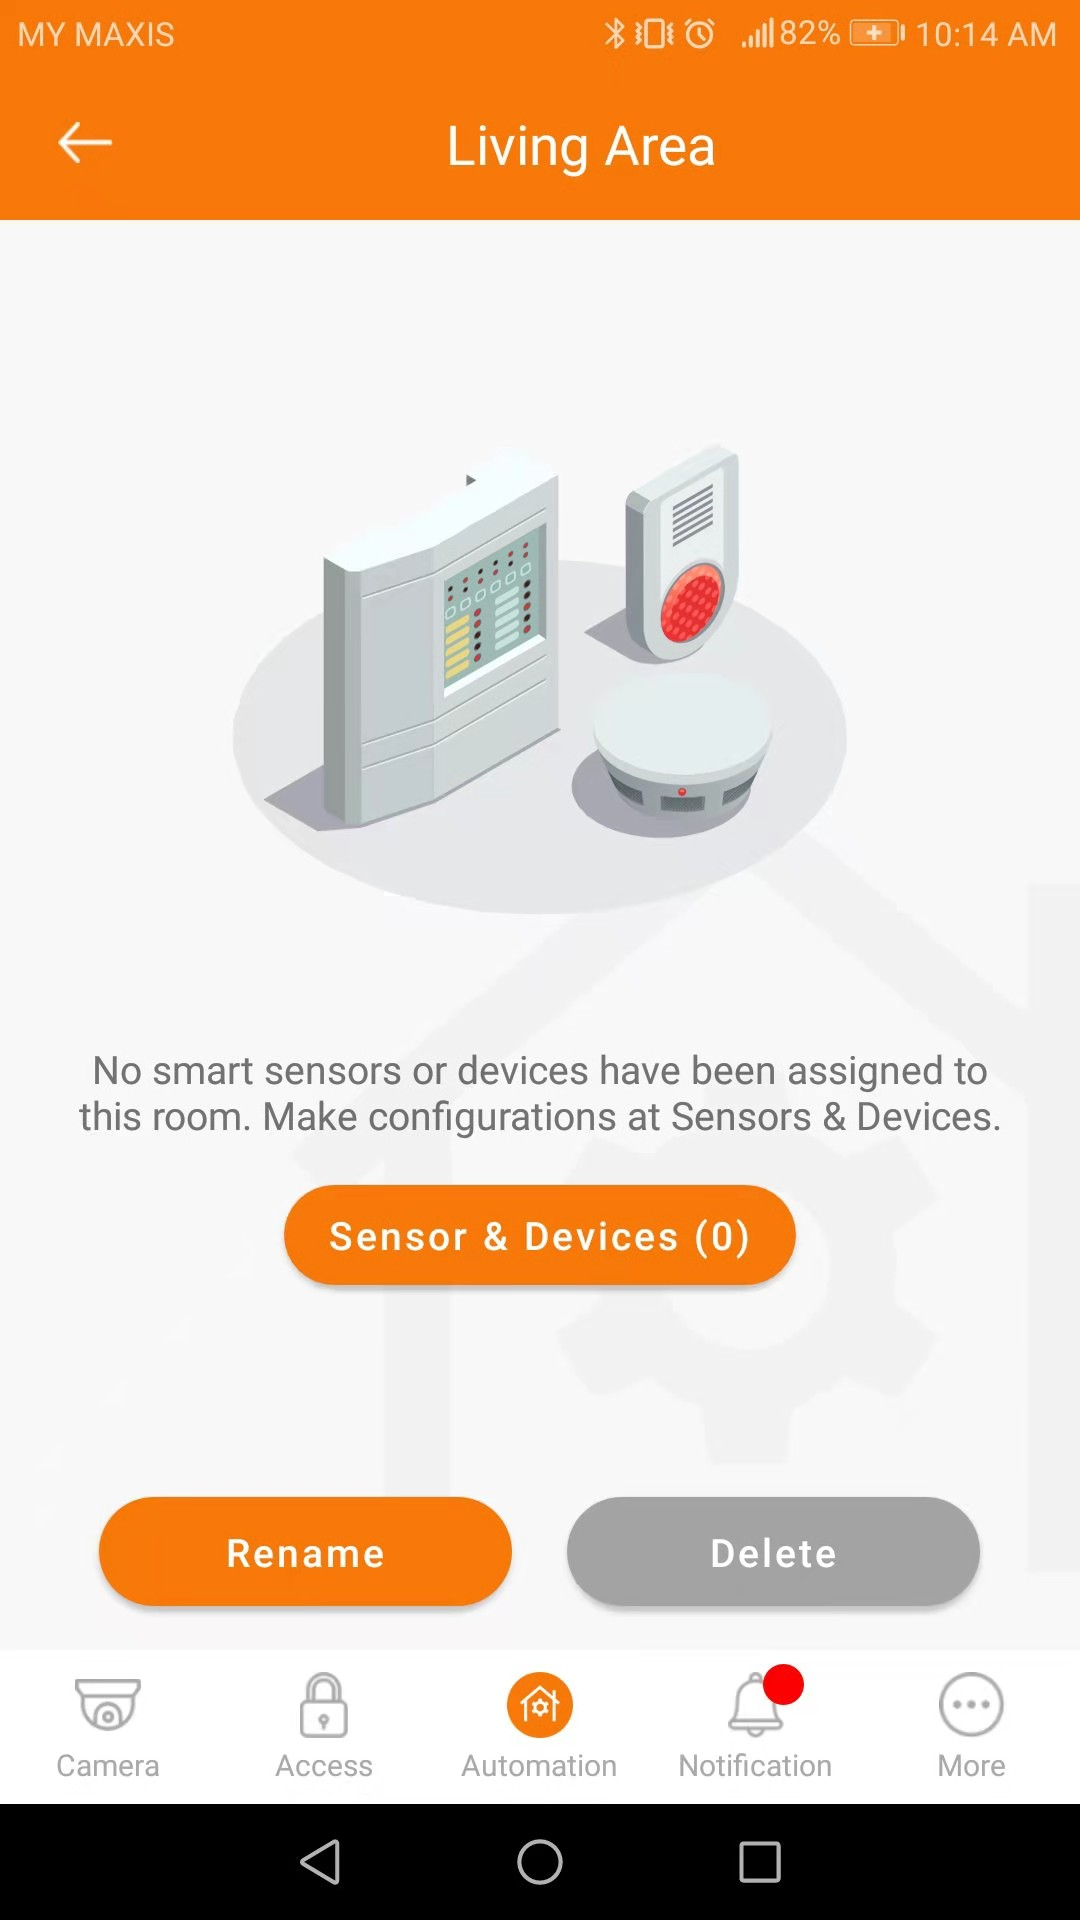
| 1. At the Automation & Security page, tap on the room icon (for eg. Dining Room) that you want to remove. |
 |
| 2. It will open up the Dining Room page, tap the “Delete” button to delete it. |
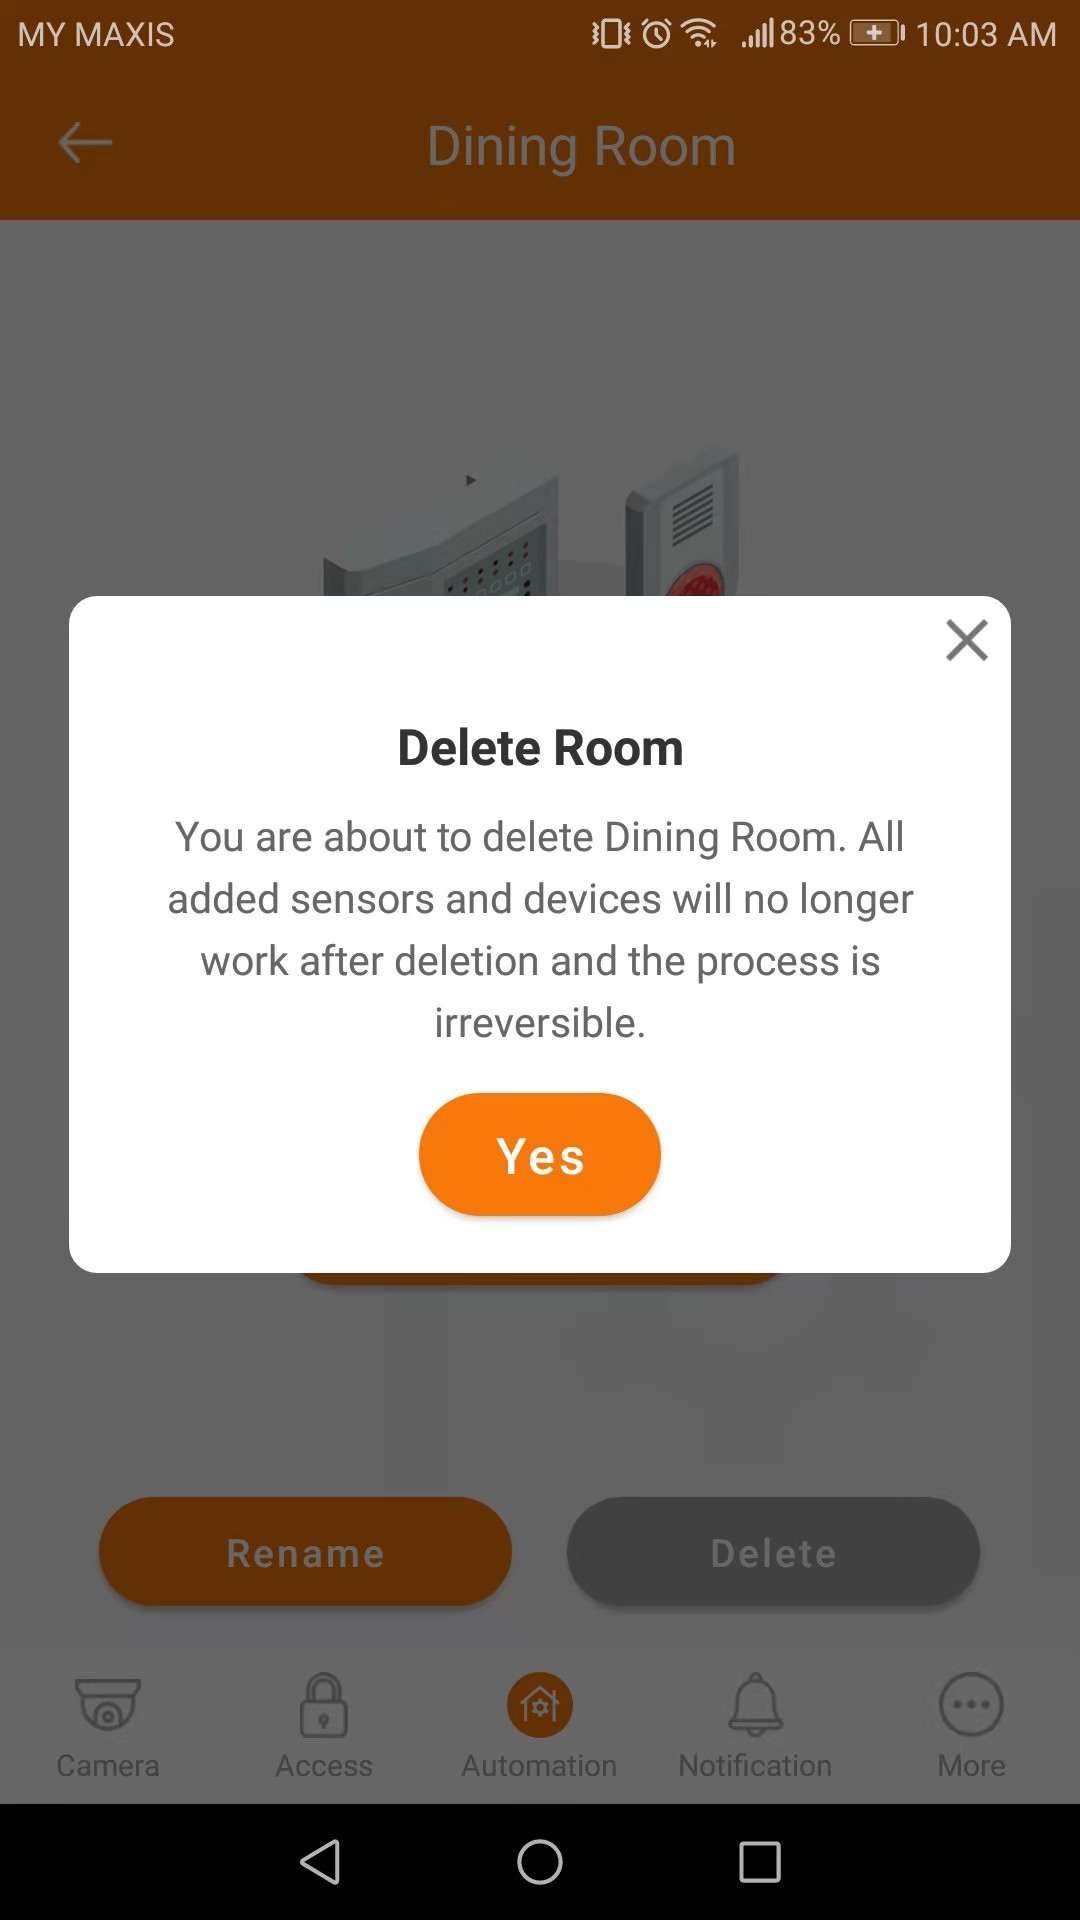 |
| 3. Tap “Yes” to continue. Please note that the sensors and devices in the room will no longer work after deletion and the process is irreversible. |
 |
| 4. Dining Room has been deleted instantly. |
 |
| 1. At Automation & Security page, tap on the room of the device |
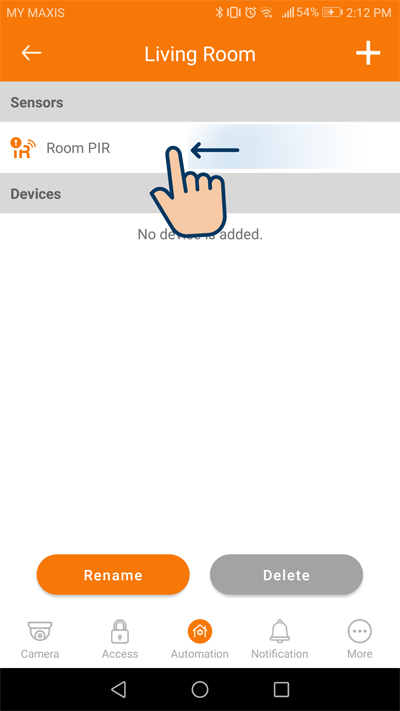 |
| 2. You will see the list of sensors added in the living room. Slide to the left of the device that you want to edit. |
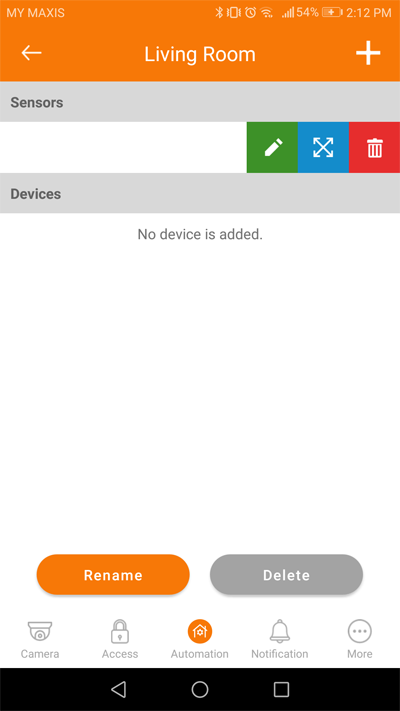 |
| 3. You will see 3 options to do with the selected sensor. Select the green button with a ‘pencil’ icon to rename the sensor. |
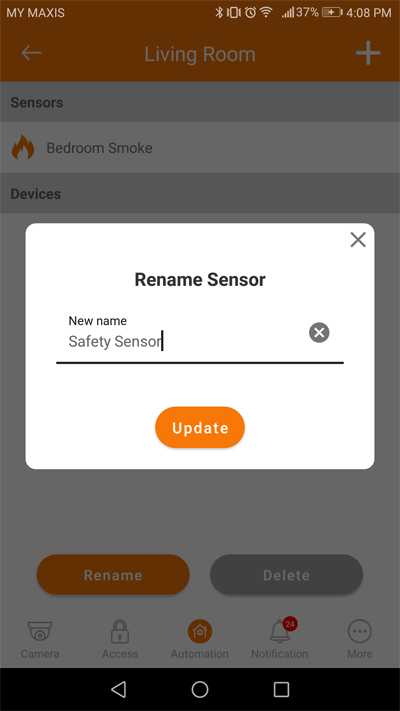 |
| 4. Key in the new name for the sensor. Tap “update” and the sensor will be renamed instantly. |
 |
| 1. At Automation & Security page, tap on the room of the device |
 |
| 2. You will see the list of sensors added in the living room. Slide to the left of the device that you want to edit. |
 |
| 3. You will see 3 options to do with the selected sensor. Select the blue button with a ‘move’ icon to move the sensor to another room. |
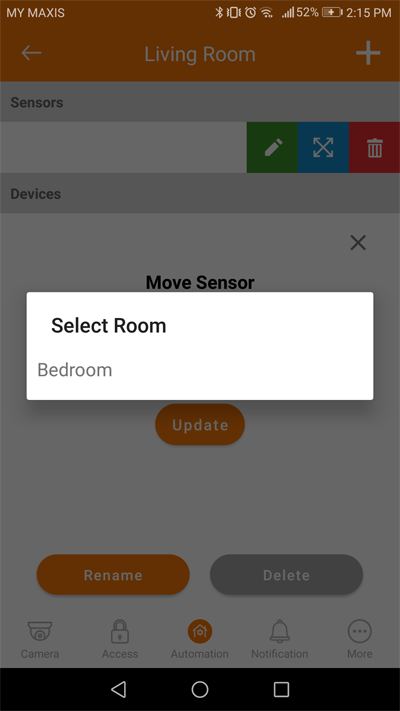 |
| 4. Select the room that you want to move the sensor to. |
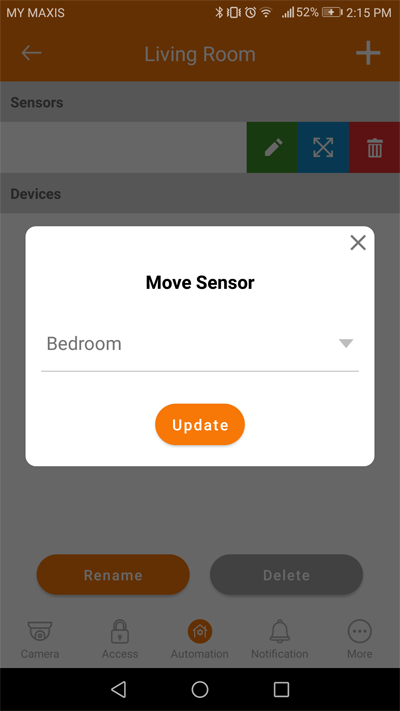 |
| 5. Tap ‘update’ to proceed and your sensor will be moved to the selected room instantly. |
 |
| 1. At Automation & Security page, tap on the room of the device |
 |
| 2. You will see the list of sensors added in the living room. Slide to the left of the device that you want to delete. |
 |
| 3. You will see 3 options to do with the selected sensor. Select the red button with a ‘dustbin’ icon to delete the sensor. |
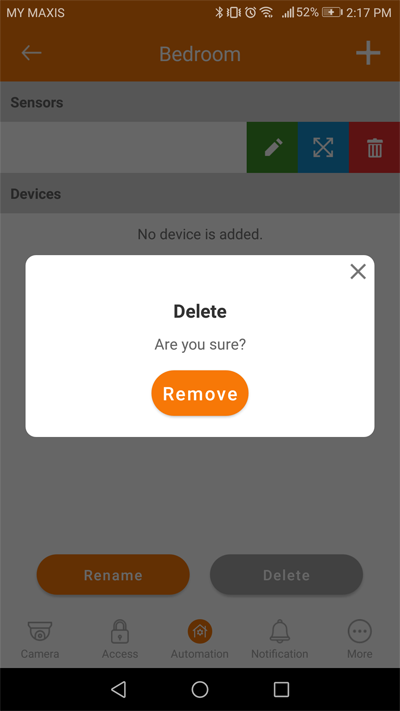 |
| 4. Confirm by tapping on the ‘remove’ button. The sensor will then be removed instantly. |
 |
| 1. At the Automation & Security page, tap “+” |
 |
| 2. Tap on “Add gateways/sensors/device” to add a new gateway. You can add multiple units of gateways under one location, however we suggest not more than 10 gateways under 1 location. |
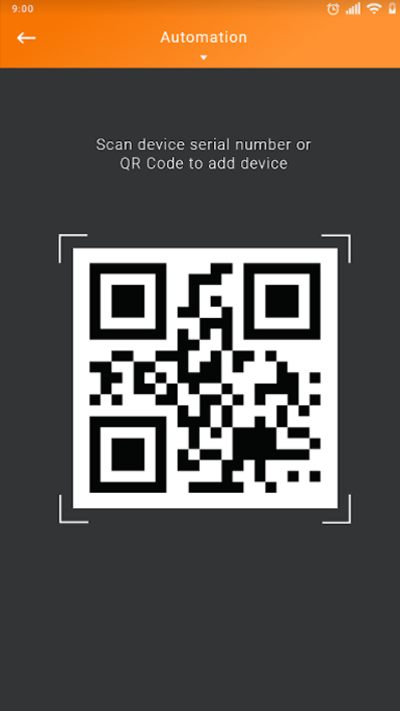 |
| 3. Scan the QR code on the new gateway. |
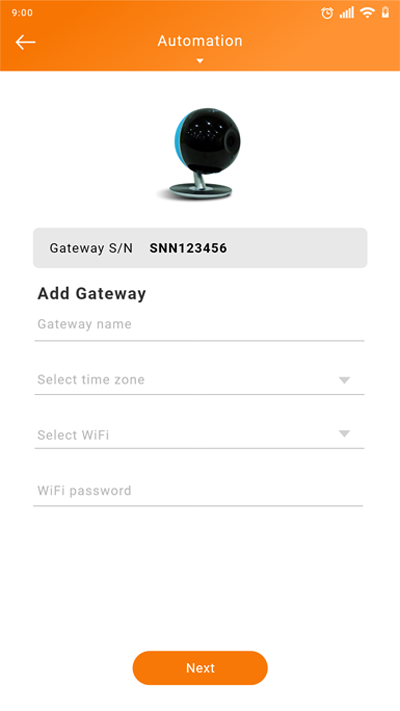 |
| 4. Fill up the fields. You will hear some digital sound when the device is trying to connect with the wifi. Then you will hear a voice prompt “Configuration success, welcome to use” which indicates that the configuration is successfully done. |
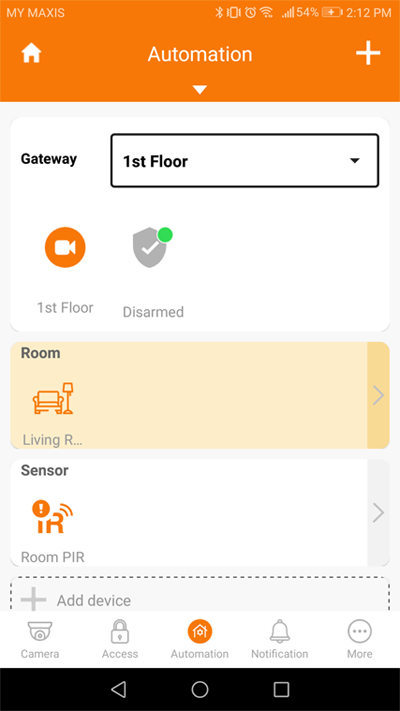
 |
| 5. You can then see the new gateway is added. You can change the gateway by clicking on the dropdown selection of ‘gateway’ as per image. |
 |
| 1. At the Automation & Security page, tap on the gateway orange camera icon. |
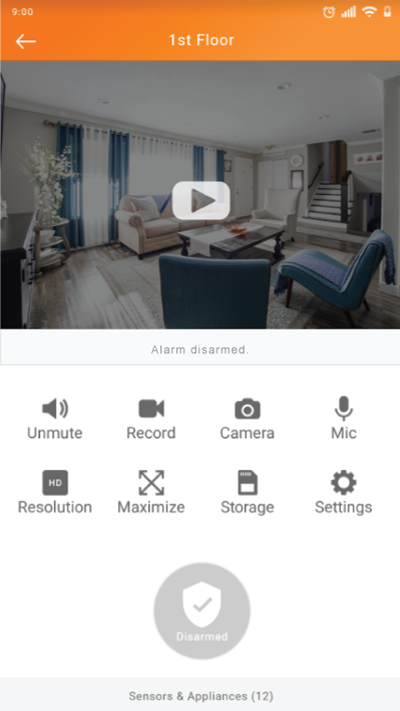 |
| 2. Tap on “Settings” |
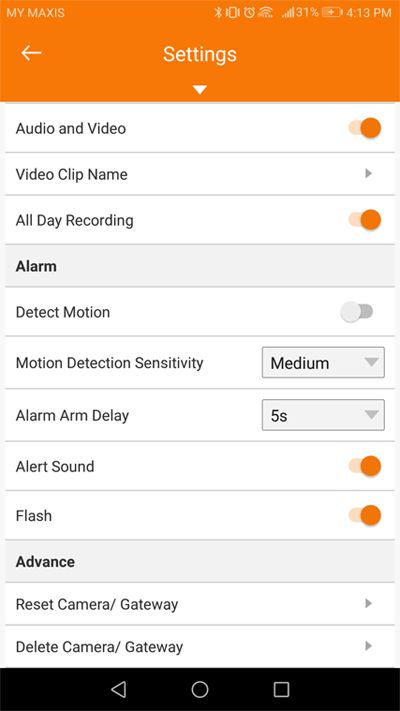 |
| 3. Tap “Delete Camera/Gateway” to delete the smart gateway. After this, you will need to use a needle to long press the reset button on the Gateway for 5 seconds to reset the factory setup so that the gateway can be added again. |
 |
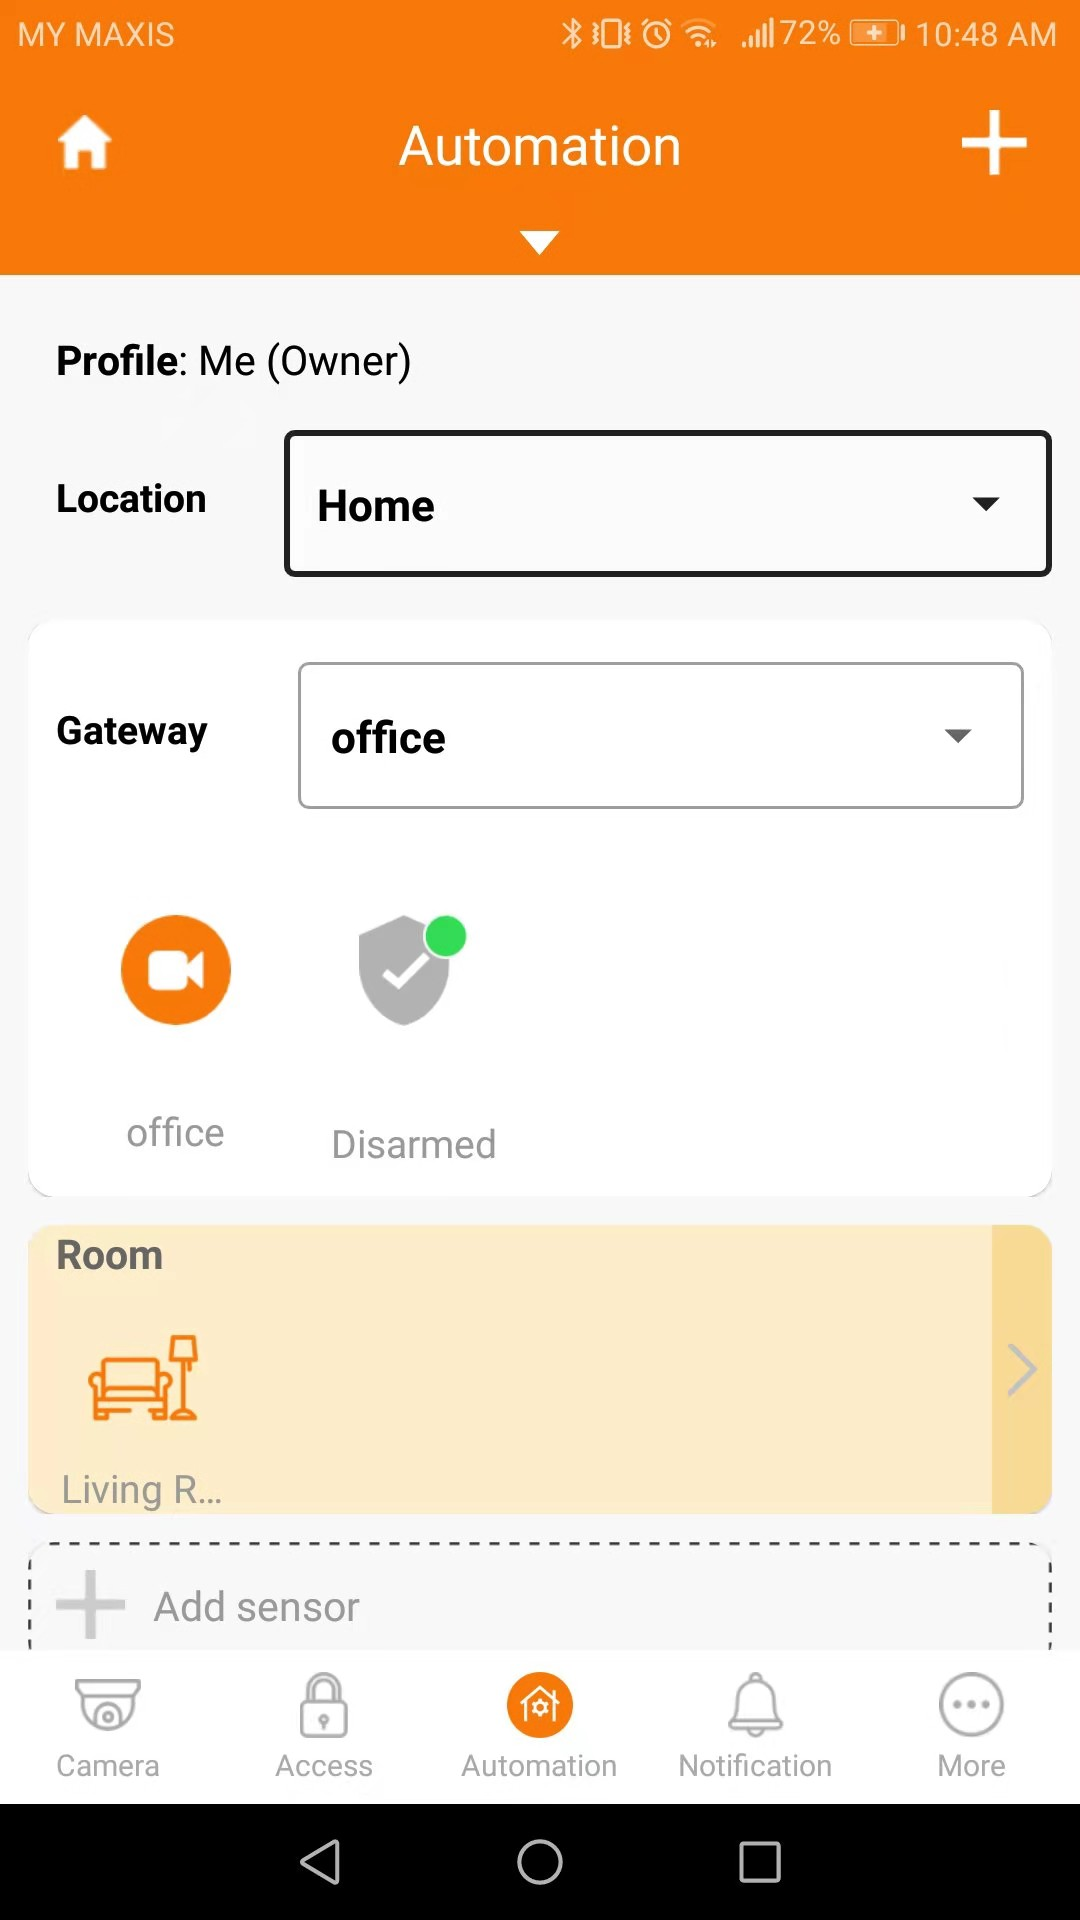
| 1. At the “Automation & Security” page, tap “+” at top right. |
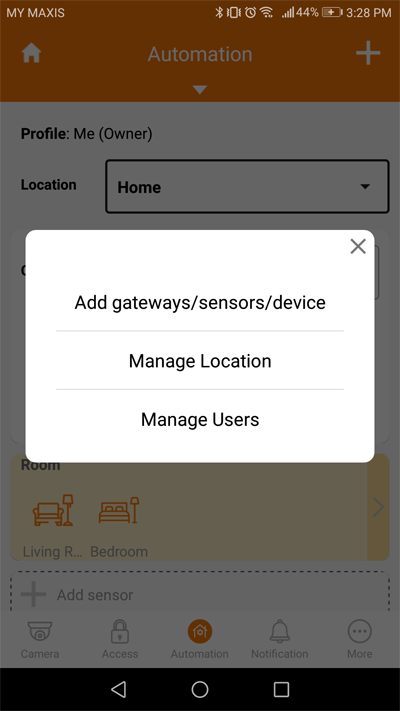 |
| 2. Select “Manage Users” |
 |
| 3. Tap the top right icon to invite the user (in order to ‘add’ the user later). |
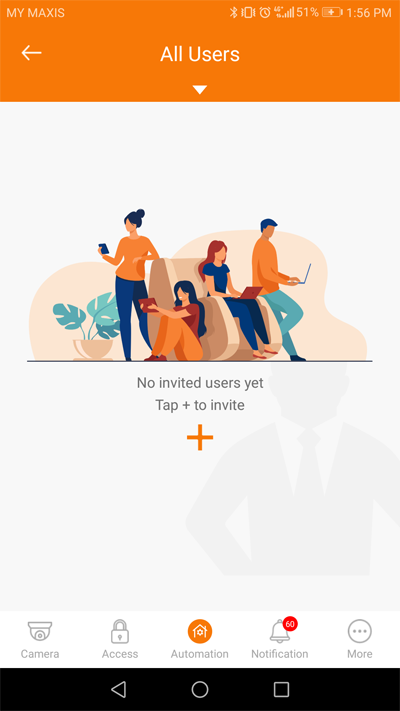 |
| 4. Tap “+” to invite |
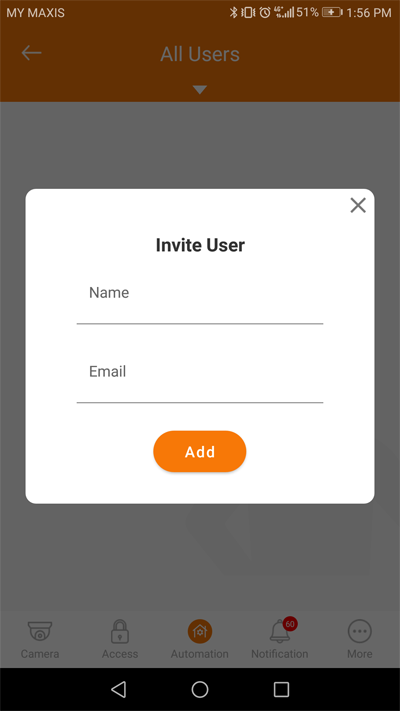 |
| 5. Fill up the fields and tap ‘Add’ |
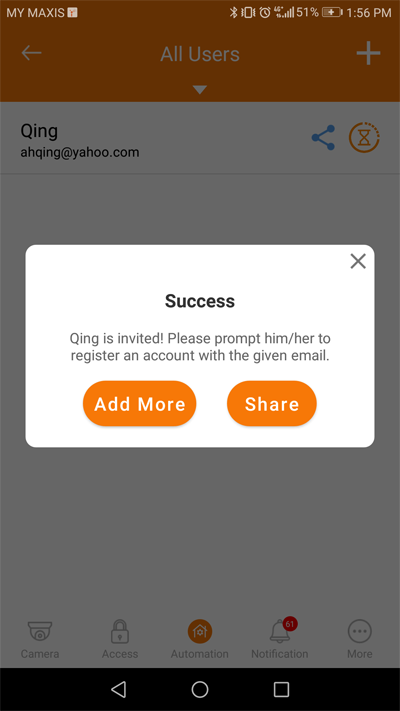 |
| 6. An invitation to register an i-TimeTec account will be sent to the user’s email. Prompt the user to check his/her email. |
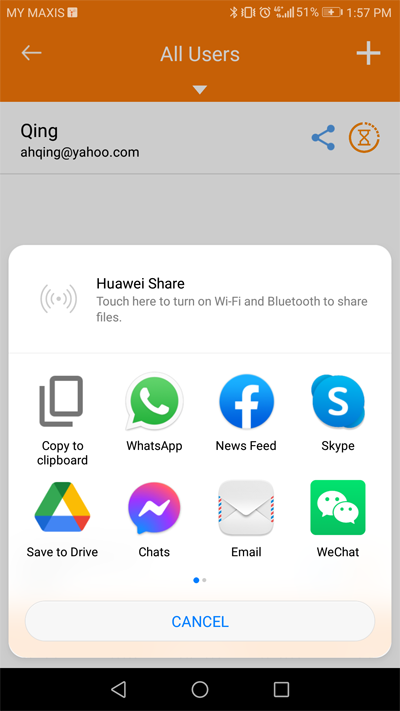 |
| 7. You can share the information (to prompt the invited user) via apps in your mobile phone. Once the users have registered an i-TimeTec account, you can proceed to add him/her in your smart system. |
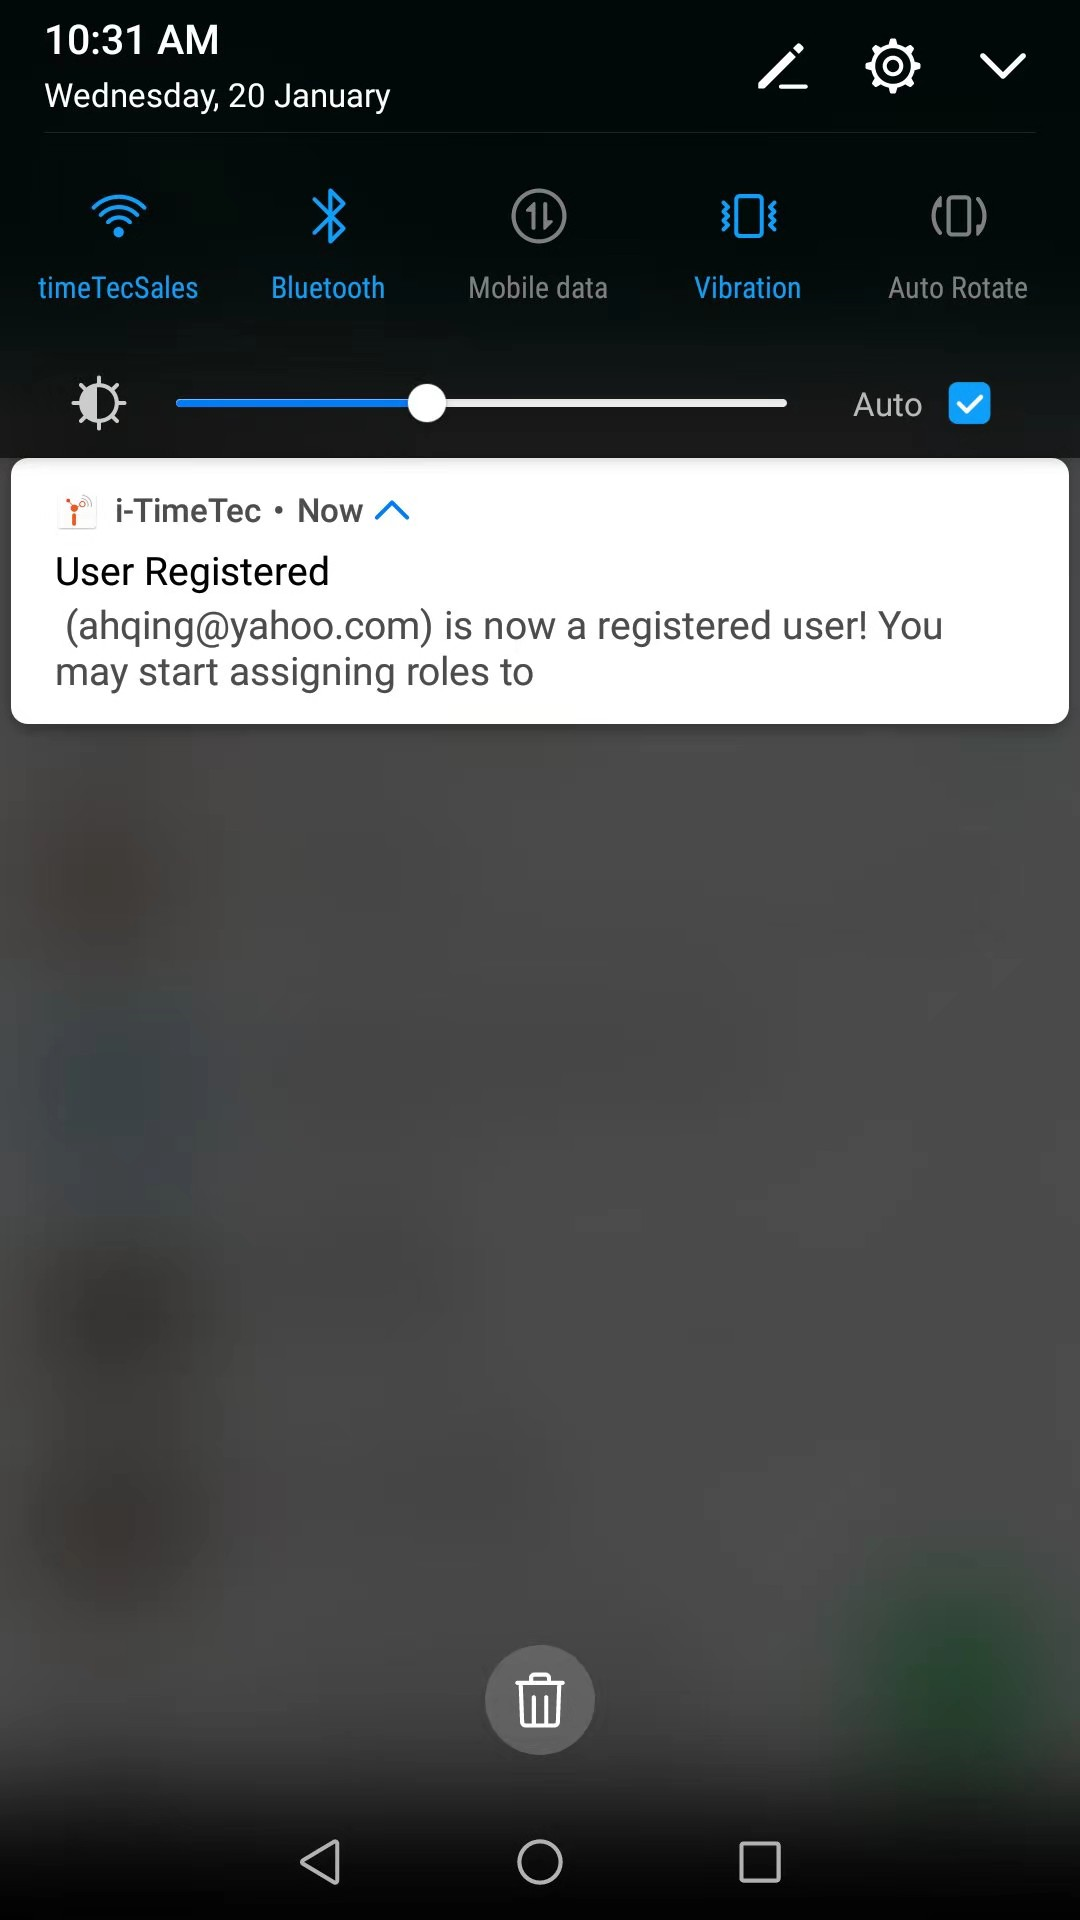 |
| 1. To add a user you will need to invite them to become a i-TimeTec user first. You will get notified when the user you invited has signed up for an i-TimeTec account. |
 |
| 2. At the Automation & Security page, tap on “+” |
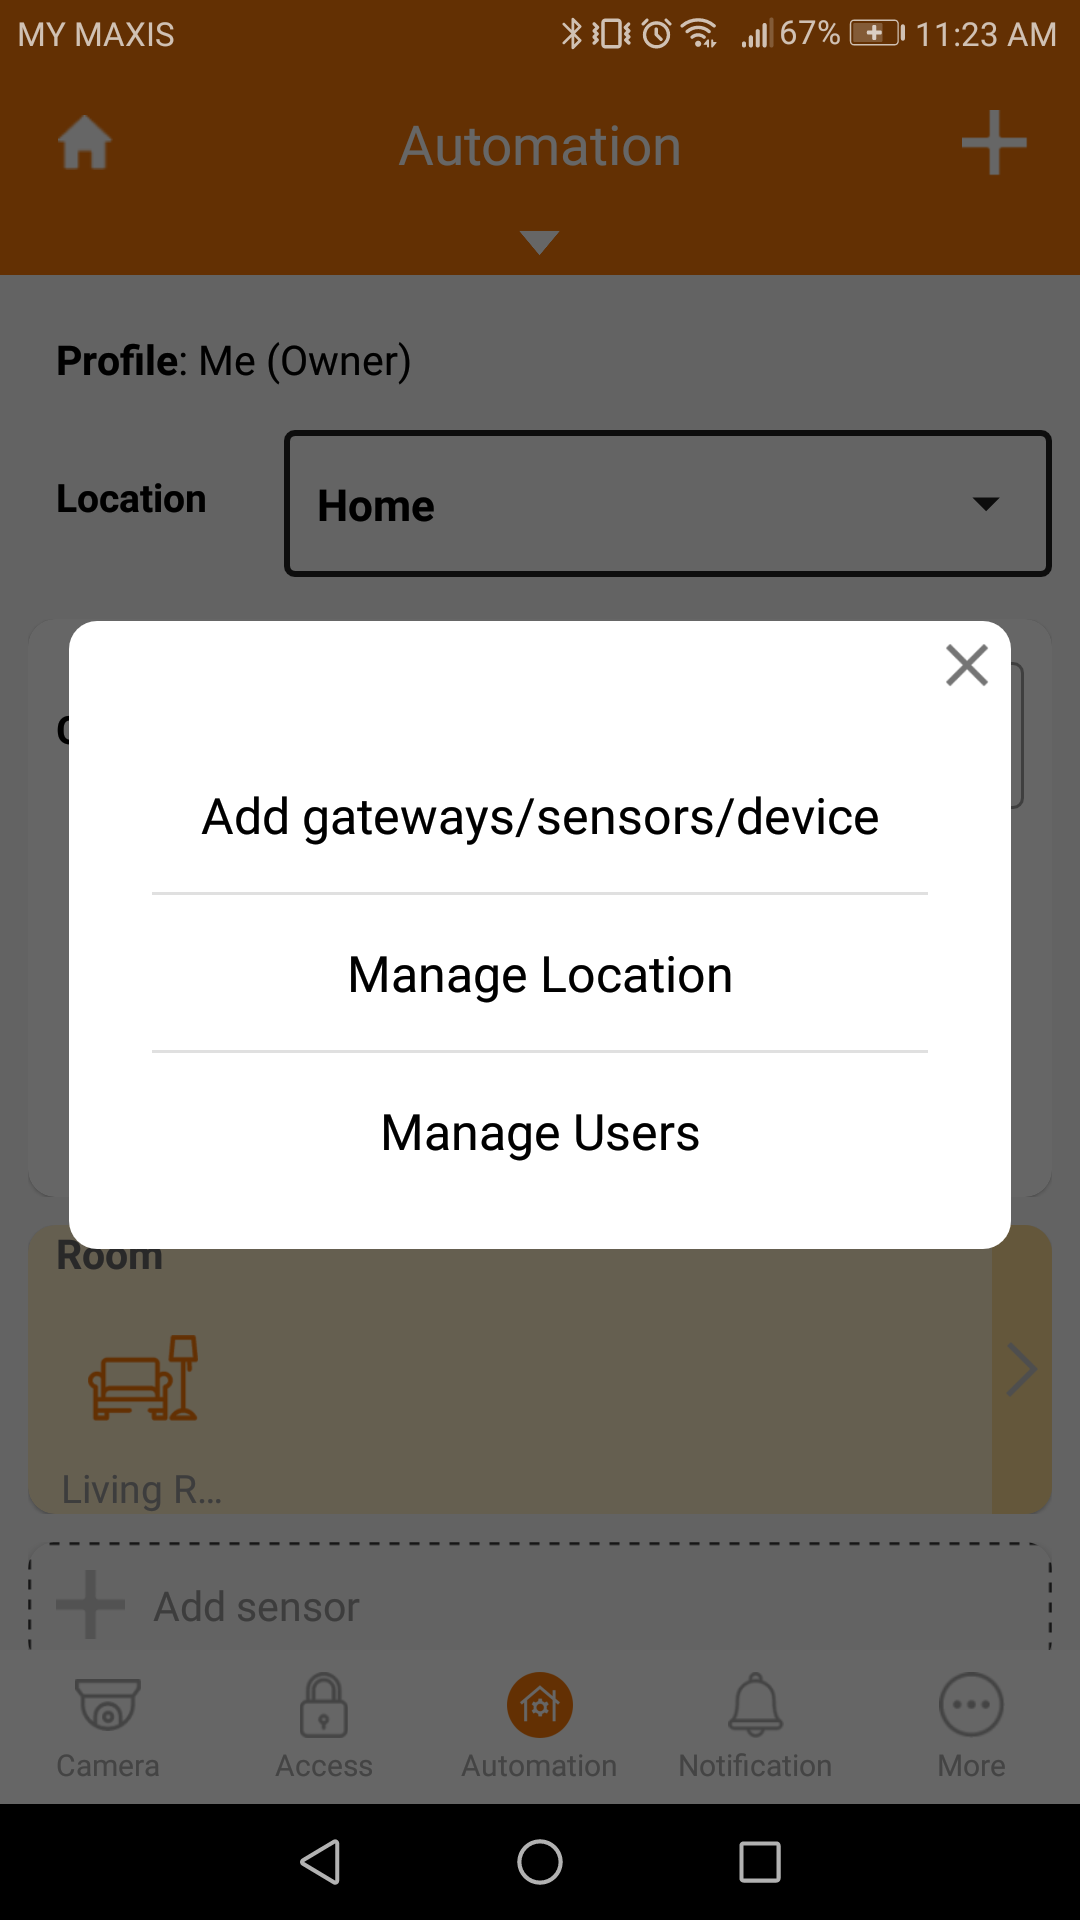 |
| 3. Tap on “Manage Users” |
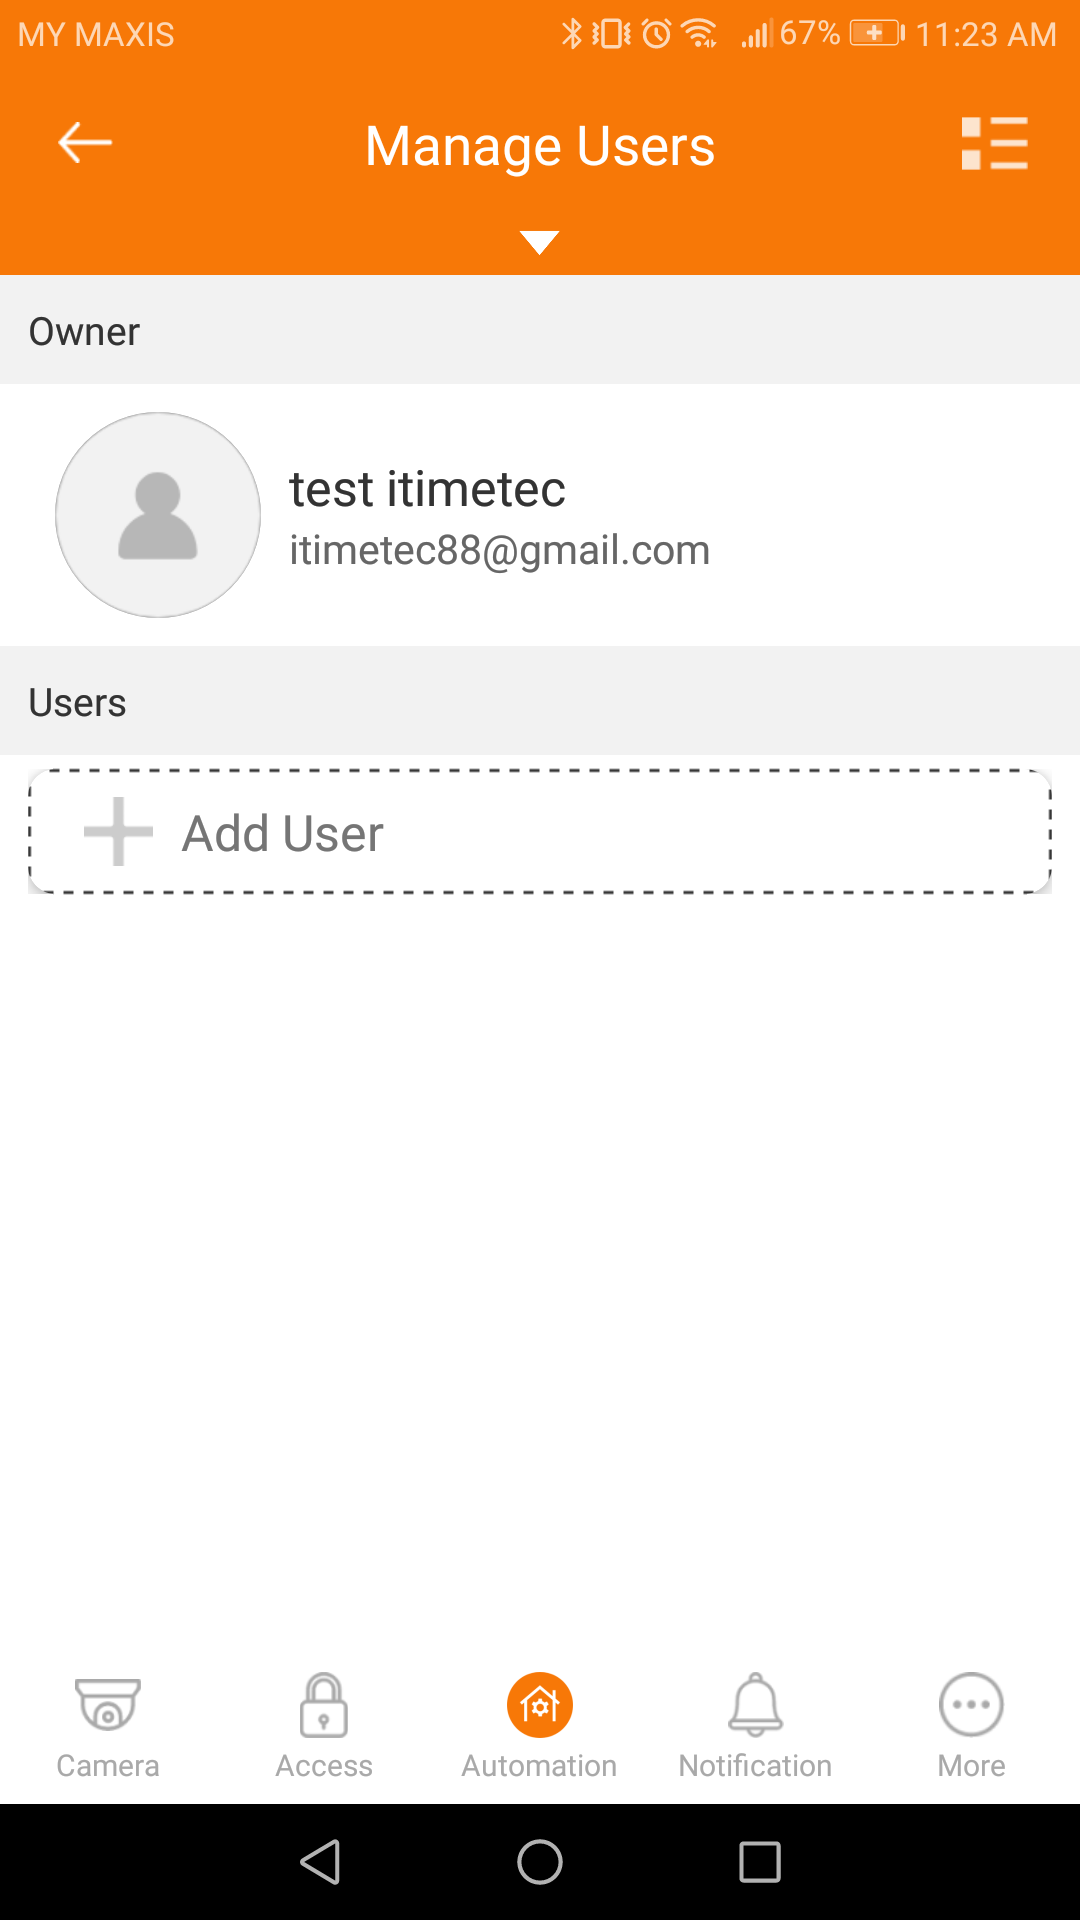 |
| 4. Tap “Add User” |
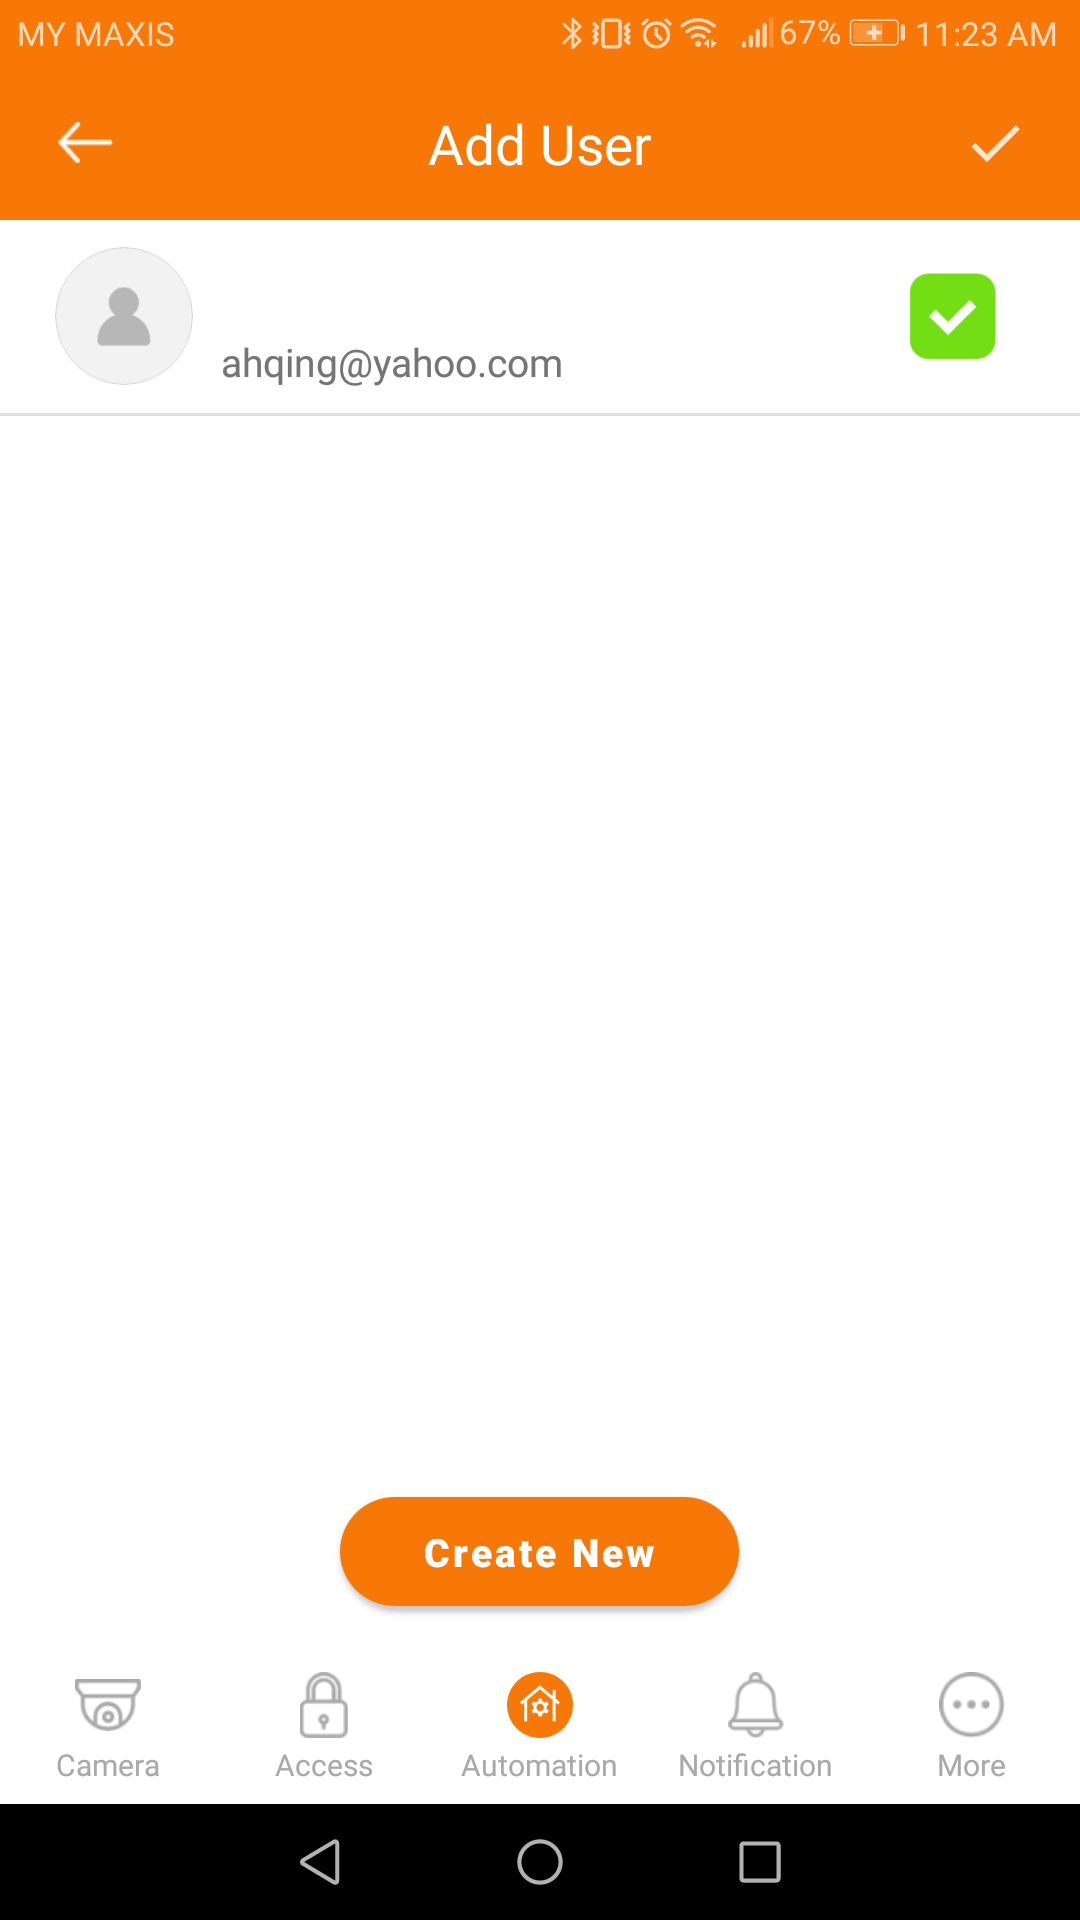 |
| 5. Tick the user and tap the “✓” on the top orange bar. |
 |
| 6. User has been added successfully. |
 |
| 1. At the Automation & Security page, tap “+” |
|
| 2. Select “Manage Users”. |
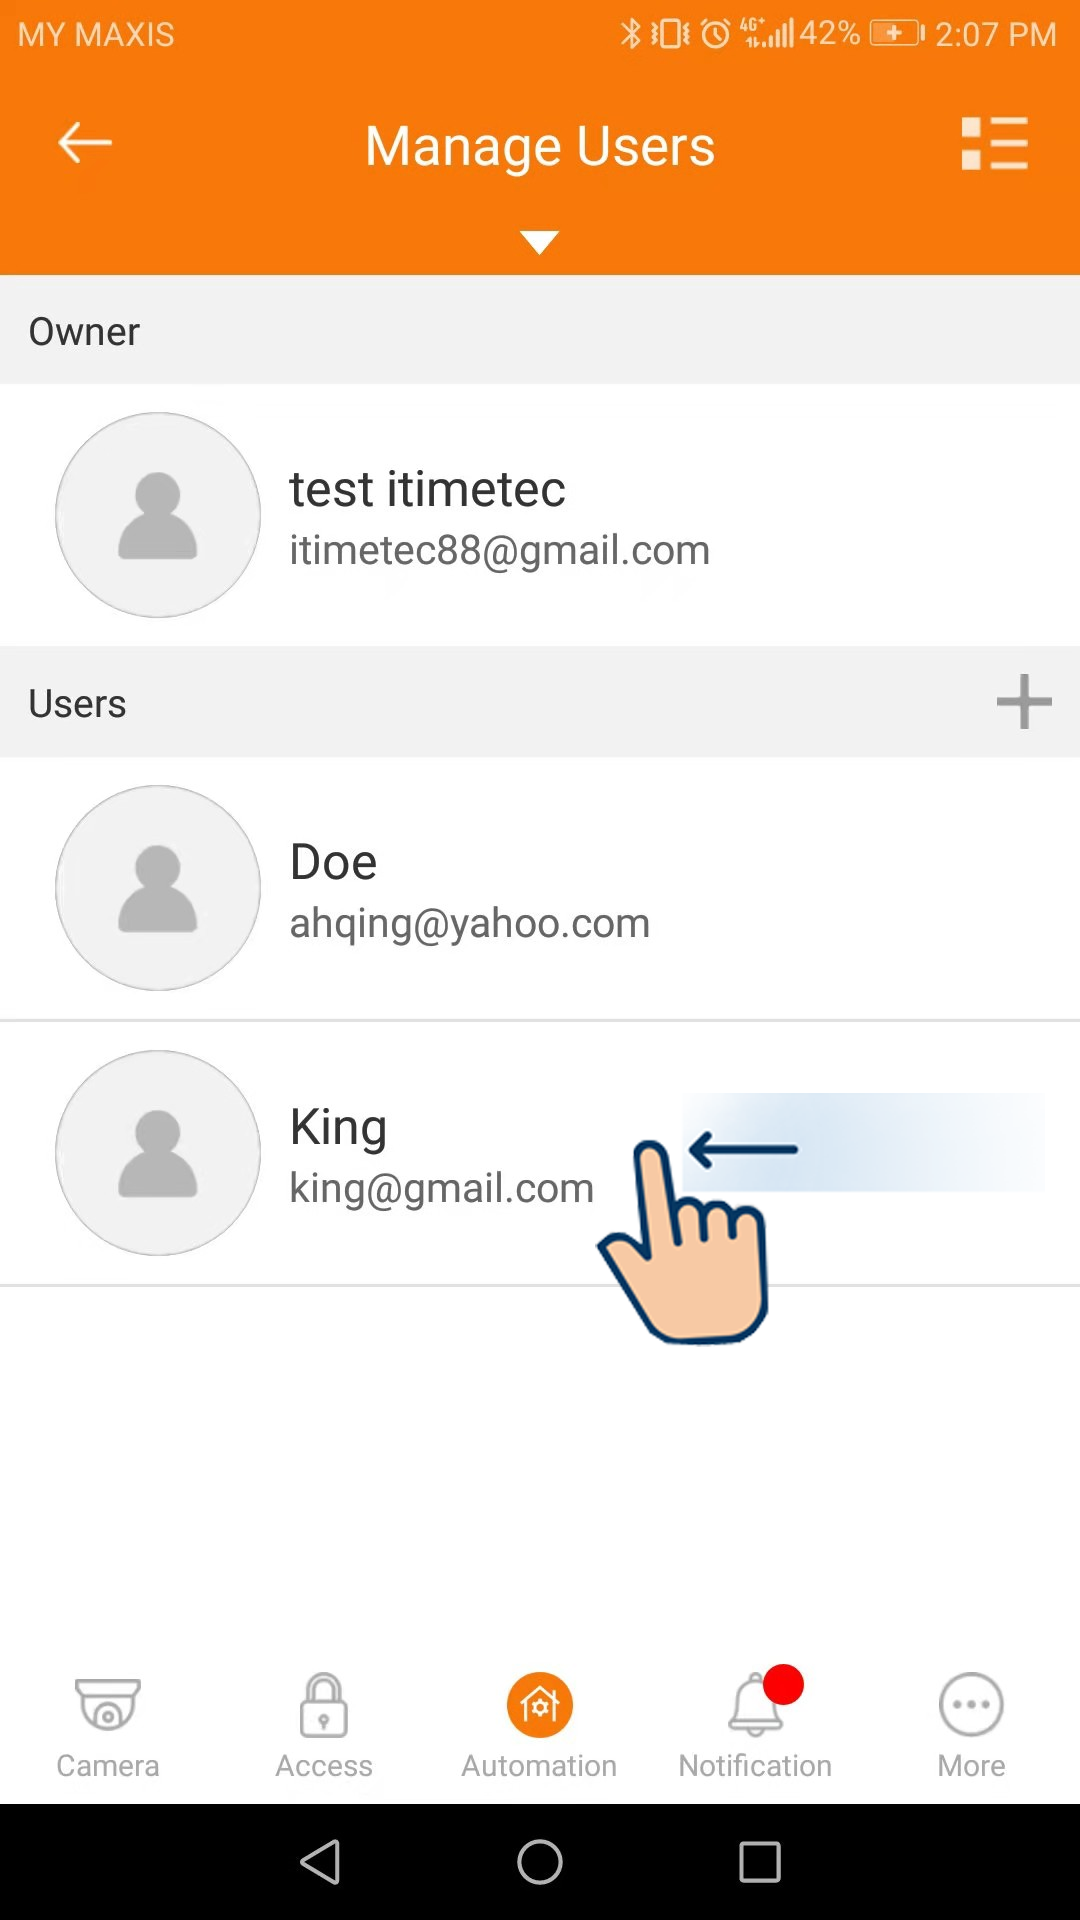 |
| 3. Slide left of the user that you want to remove. |
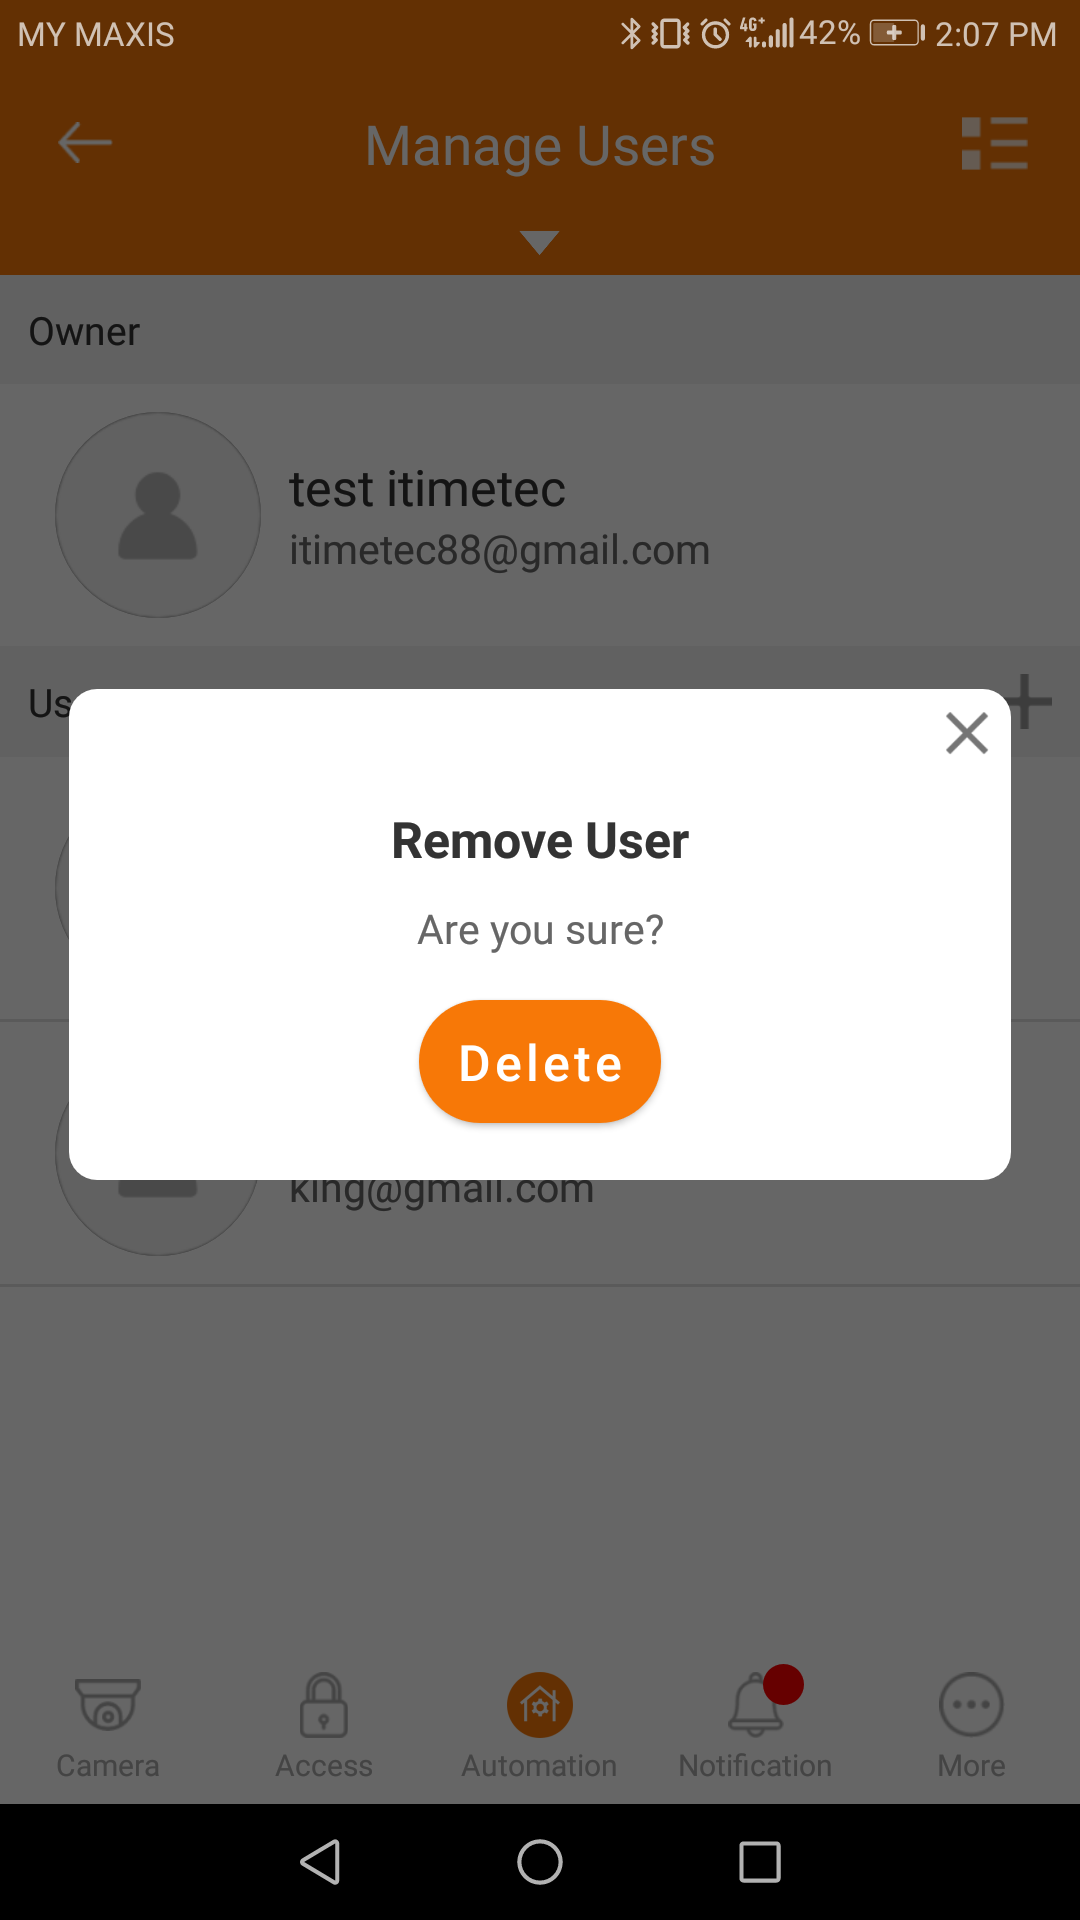 |
| 4. Tap “Delete” to remove the user. |
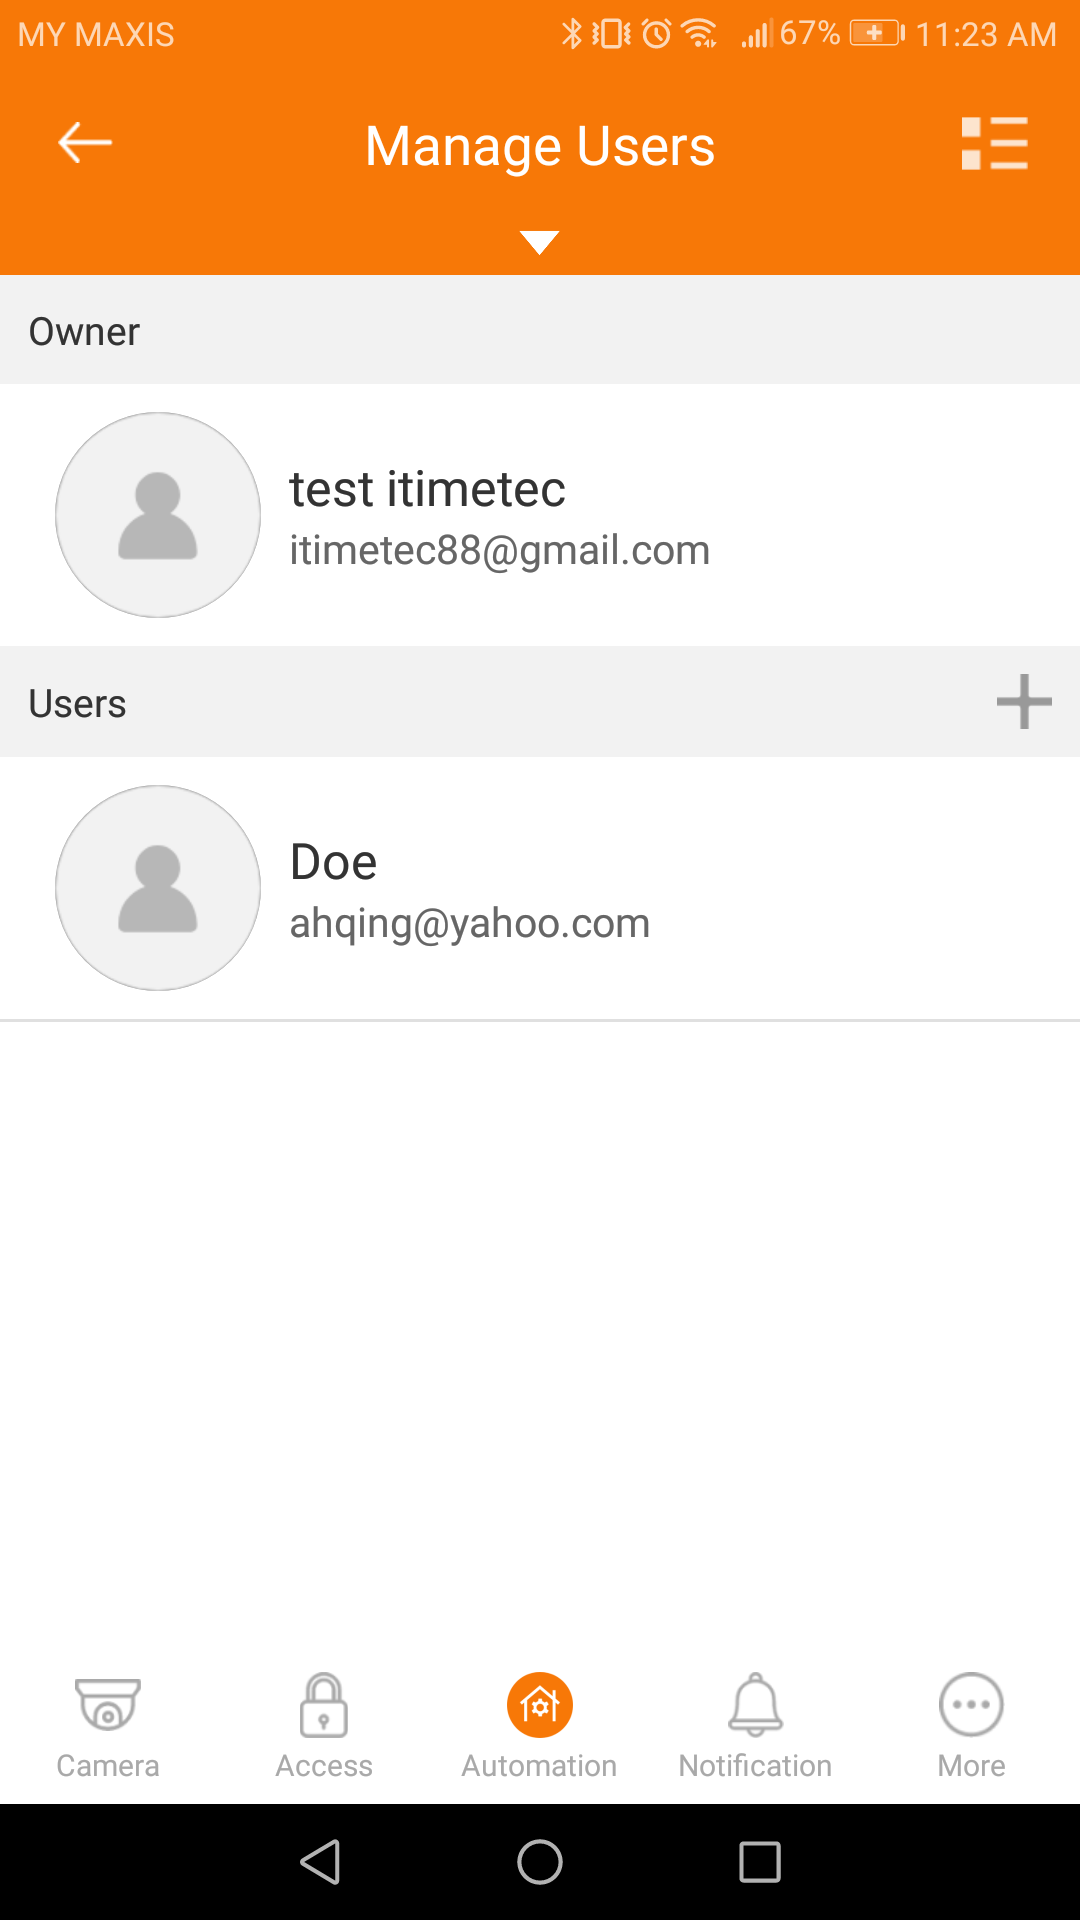 |
| 5. User “King” is removed instantly. |